Private podcasts are a way to share podcast audio securely to an exclusive list of listeners by generating a private RSS feed for each individual person.
Creating a private RSS feed allows you to remove individual listeners at any time without disrupting the rest of your audience since everyone has their own RSS feed that can be deleted anytime.
Private podcasts are used by 2 main groups:
- Businesses sharing information with team members
- Creators sharing paywalled content with superfans
In this blog, you’ll learn everything you need to know about private podcasts.
You’ll learn:
- What is a private podcast?
- Why create a private podcast?
- How do people use private podcasts?
- How to make a private podcast
- The 8 best private podcast tools
- How do private podcasts work? (four methods)
- FAQs about private podcasts
We have a lot to cover, so let’s dive in.
What is a private podcast?
Private podcasts are a way to share audio to an exclusive list of listeners by generating a private RSS feed for each person.
Here’s how it normally works:
- Create a private RSS feed for each listener (typically by adding their email into a tool like Resonate’s private hosting or Transistor hosting)
- Invite each listener via email
- Listeners copy and paste an RSS feed link into their favorite podcast app (e.g. Apple Podcasts)
- New episodes are sent directly to all of your listeners, and you can revoke their access on an individual level whenever you like!
Why create a private podcast?
There are so many great reasons to create a private podcast. Here are a few of the most important ones you need to consider.
1. People love podcasts (and they engage deeply)
Did you know 62% of podcasters listen to over 3 hours every week? That’s dedication. Not only that, over 47% of the entire US population listened to a podcast in the last month. People love podcasting, and they listen and engage more deeply than any other medium.
When is the last time your employees or audience spent 45 minutes reading a blog, or sitting on your website? It’s probably been a minute. But with podcasting, people regularly spend 30, 45, even 60 minutes listening to a host while they are cleaning the house, driving, or walking.
2. Private podcasts strengthen company culture
Company culture is critical to a businesses’ success. Yet so much of the training, onboarding, and communication is just boring, or worse, not well organized. Podcasts can be an incredible way to stop boring your employees and create content that engages them, and make it more accessible as well.
3. Private podcasts are fun
Let’s keep this one really simple: Recording podcasts and listening to podcasts is fun.
These are just a few of the reasons you should consider creating a private podcast. Next, let’s talk about the most common examples of private podcasts.
How do people use private podcasts?
Private podcasts are a cutting-edge communication tool. Private podcasts are used by creators and companies in a lot of creative ways, and new creative ideas are emerging all the time.
How businesses use private podcasts
- Improving internal communications from the C-suite to the whole team. Recording a podcast from the CEO to update investors, managers, and the company at large about company updates, changes, and other important sensitive information in a secure way.
- Training sales representatives who are on the road. Sales Reps can listen to training easily on the go inside their favorite apps.
- Sharing educational content within a university classroom.
How creators use private podcasts
- Creating a membership podcast to monetize their podcast by offering listeners ad-free episodes, bonus episodes, ask-me-anything (AMA) episodes, and more for a monthly subscription.
- Sharing a free audiobook recording with everyone who buys a copy of their book (idea from Transistor).
- Growing their email list by offering free exclusive episodes when you sign up with your email address.
How to make a private podcast
1. Book a call with a Resonate podcast specialist
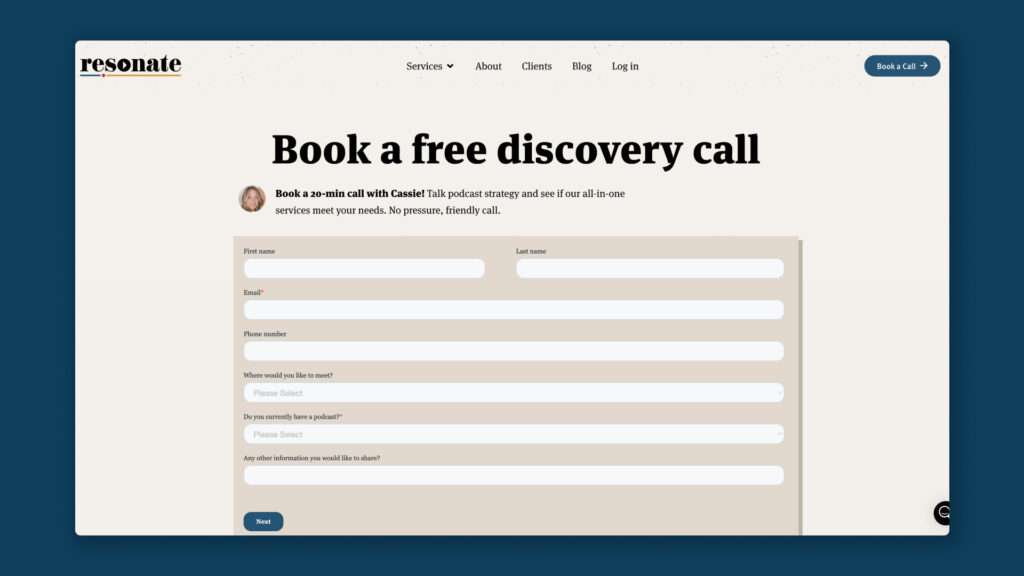
To start making a private podcast, book a free discovery call with Resonate. Our podcast specialists will create a custom quote and walk you through the next steps one by one.
2. Upload your content
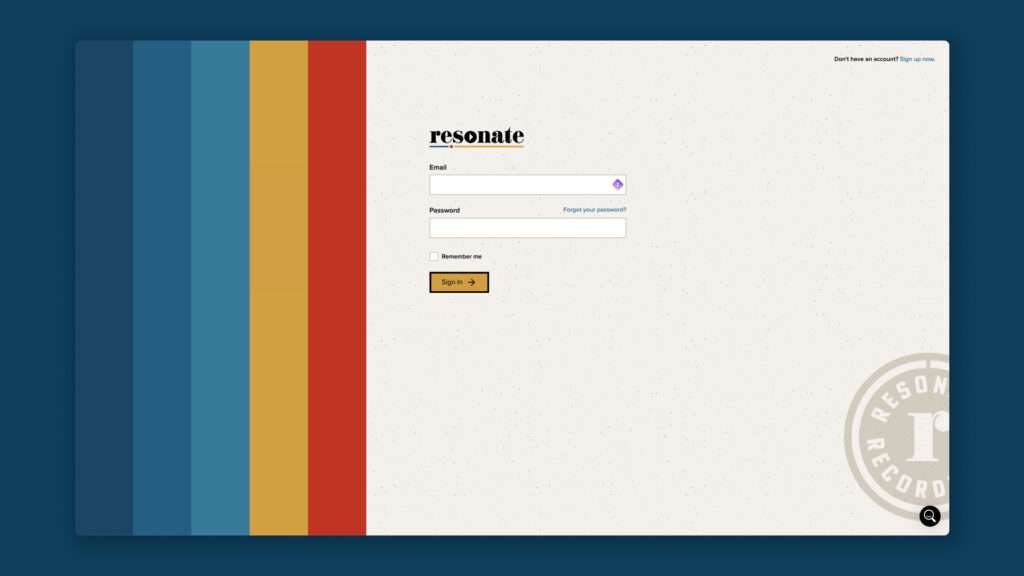
After you get a quote and pay, you will get set up with a Resonate Hosting account. You can log in at app.resonaterecordings.com to invite listeners, schedule new episodes, review analytics, and more. To start, you will need to add your podcast cover art, and title, set your show to “private”, and upload your first episode.
3. Invite your listeners
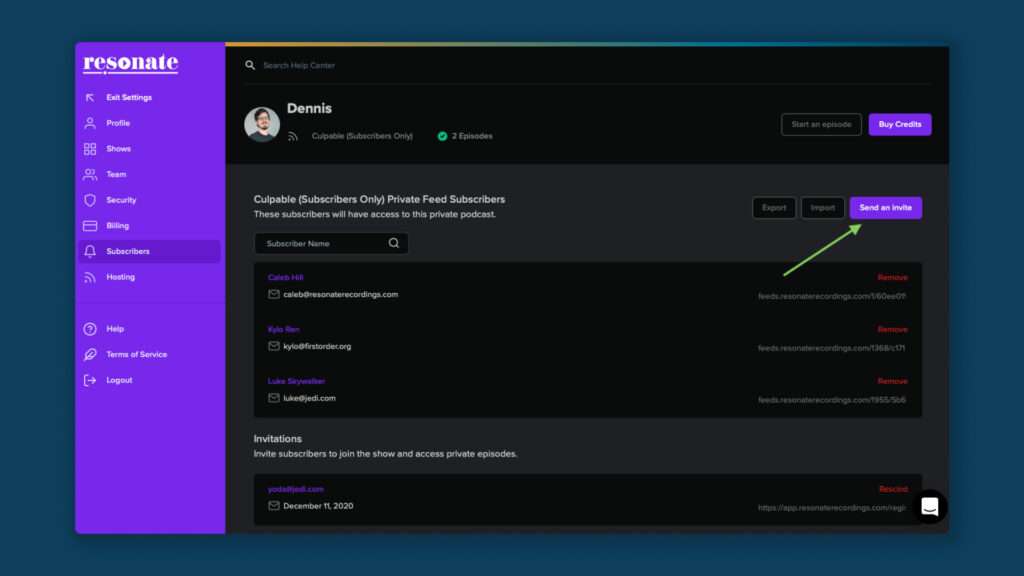
Next, click the profile picture in the top right corner of the Resonate app, then click “Settings.” From within Settings, click “Subscribers” in the left sidebar. Click “Send an Invite”, add your listener’s email address, then check the box that says “send an email invite from Resonate.” If you select this option, an email invite will be sent to your guest. If you do not check this box, you will be given a link to copy and share with your guests directly so they can sign up. That’s it! You just invited your first subscriber(s) to your private podcast!
Want to remove a specific subscriber? No problem. You can do that anytime by following these instructions.
3. Your listeners accept invite (and paste RSS feed into their app)
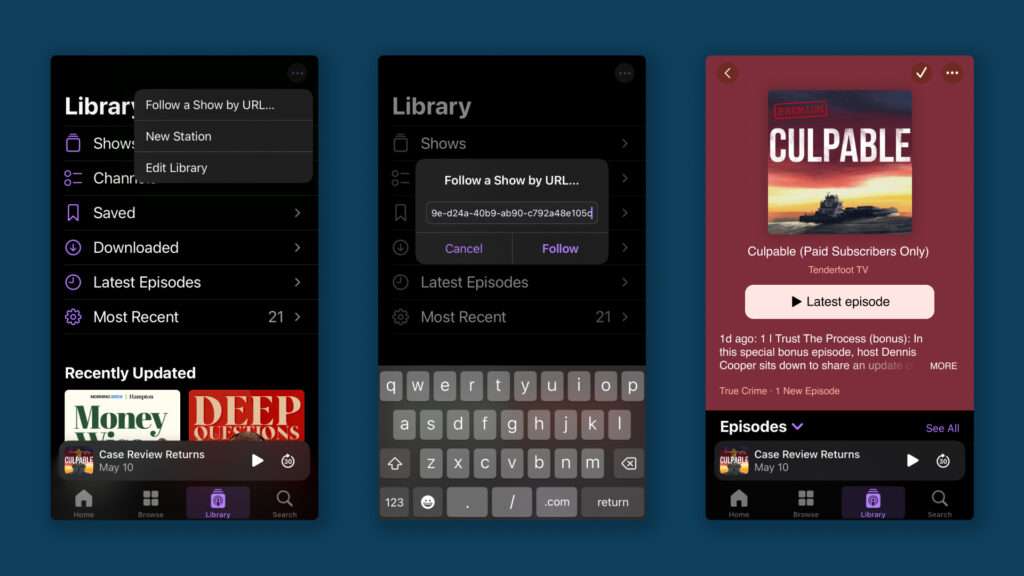
After your listeners receive an invitation, they just need to copy and paste the RSS feed into their favorite podcast app. For example, on Apple Podcasts, you can import a private RSS feed by clicking “Library” > clicking the 3 dots in the top right corner (···), clicking “Follow a Show by URL,” then pasting in their unique RSS feed. That’s all it takes!
4. Publish your (private) episodes
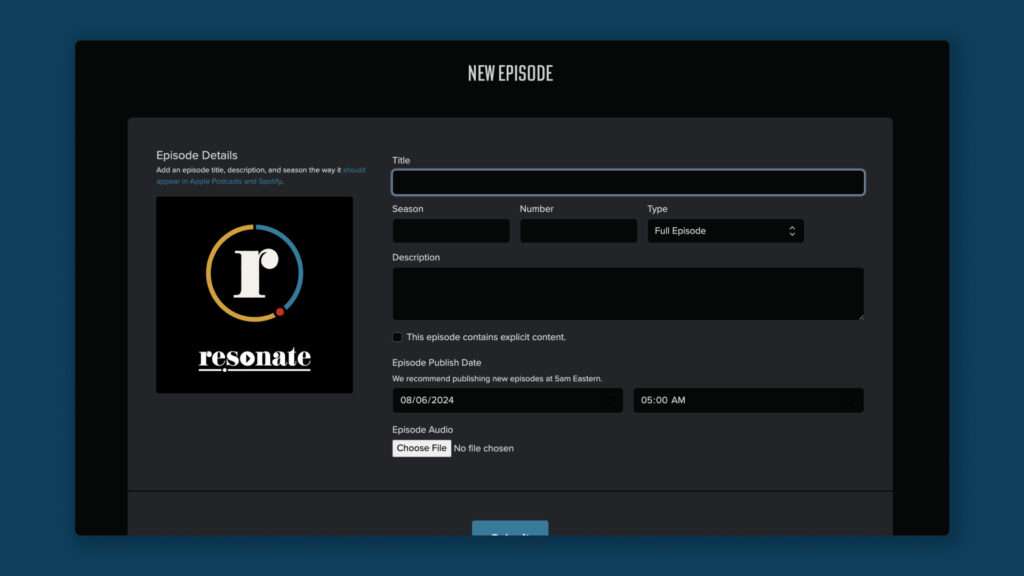
Next, click the Resonate logo in the top left corner to return to the app home screen. From this dashboard, select “…or Publish an episode” to upload new episodes for your audience. Simply add your episode title, description, publish date, audio file, and episode cover art (optional) and schedule it for later or publish immediately.
Anyone with a private RSS feed will get this episode delivered to them automatically at the time you schedule (or shortly after, depending on which podcast app they are using).
5. Review analytics to track engagement
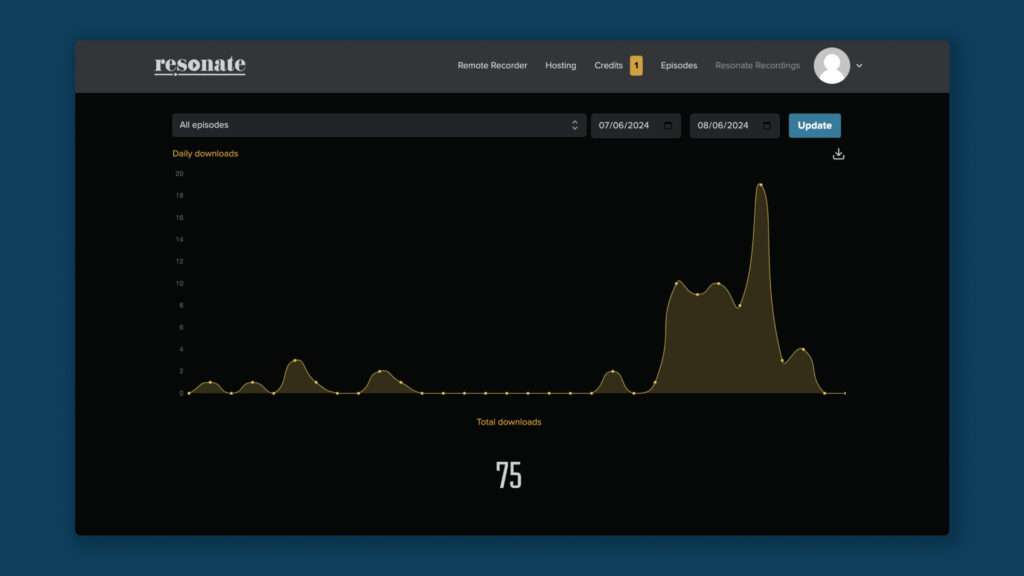
After you publish episodes, click the “Hosting” tab in the top navigation menu to see analytics on your private podcast. You can see the top episodes, total downloads, and even more data to get a glimpse of how your show is performing.
The 8 best private podcast tools
1. Resonate Recordings Private Hosting
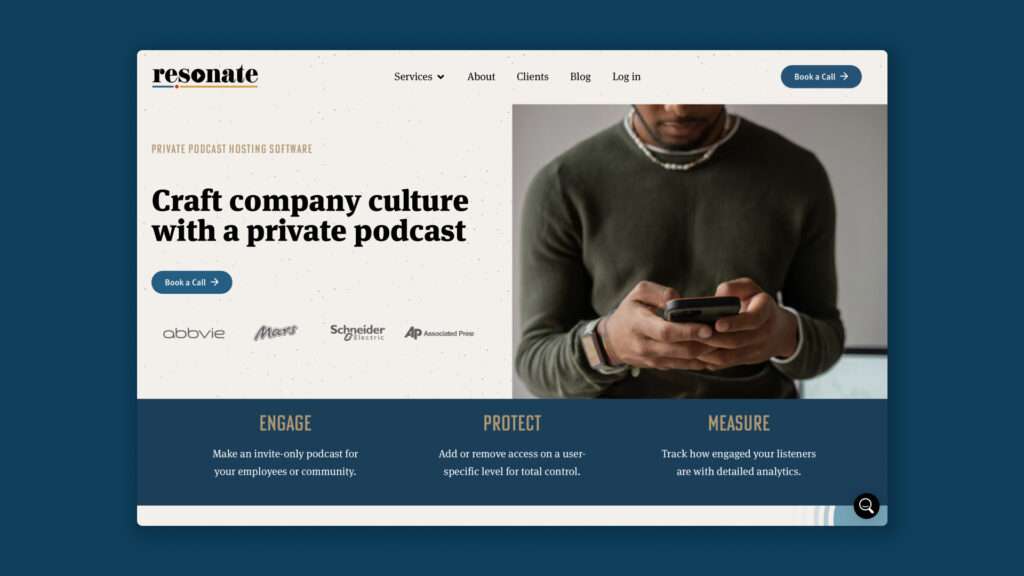
Resonate is an all-in-one podcast production company that offers private podcast hosting. They offer the services you need to create a professionally produced show and the tools you need to create it, like their private podcast hosting.
Resonate supports multiple different methods of securing your private podcast with varying levels of accessibility and security. You can create private RSS feeds, share an authenticated embedded player on your company’s intranet, listen on a password-protected Podcast Microsite, or simply “block” your podcast from being discovered on directories like Apple, Spotify, and Google.
The most popular way to create a private podcast with Resonate is to generate private RSS feeds for each listener.
Just add your listener’s email addresses or upload a CSV file, send your invitation, and your listeners can click on their favorite podcast app to listen to the show. It’s that easy.
Features:
- Create private RSS feeds for each listener
- Embed an authenticated embed player on your site’s intranet or password-protected site
- Share podcast through a password-protected Resonate Microsite
- API for automatically adding and removing subscribers from your podcast
Private hosting is charged on a per-user basis. You can request a free quote to learn more.
2. Transistor (starts at $19/mo)
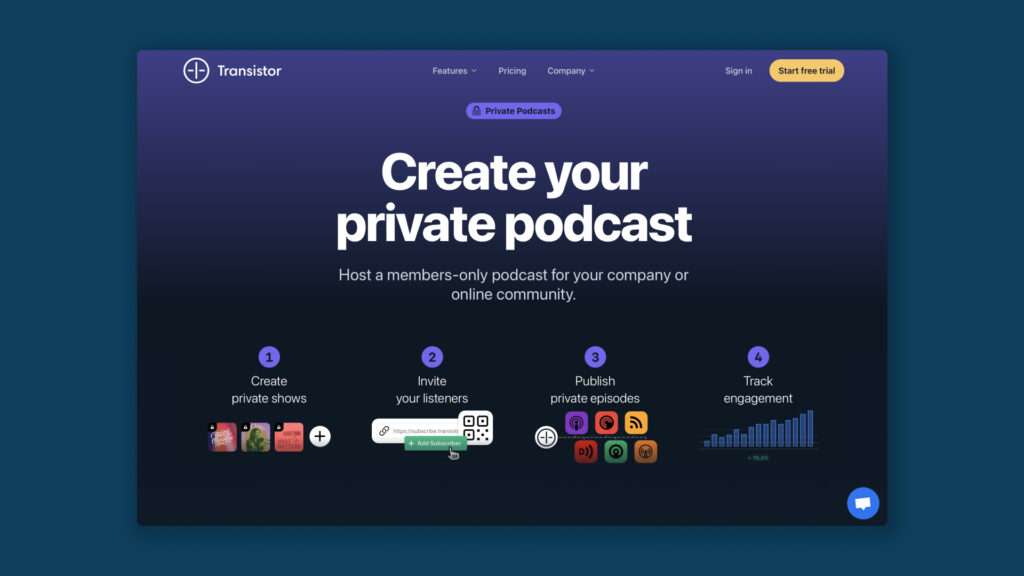
Transistor is a highly trusted podcast hosting platform in the industry. Their hosting platform is simple, easy to learn, and has a beautiful design and user experience. From very early on, private podcasting has been one of Transistor’s unique selling points.
Transistor offers three ways to invite your listeners to a private podcast: with an email, with a link, or with their shared-invite landing page. They make it very easy for listeners to access your show, and also offer analytics so you can see how times an individual subscriber has downloaded your episode (if it’s more than 2-4 downloads there may be a piracy issue).
They offer private hosting for each plan, starting at 50 subscribers for $19/mo. This makes them one of the most affordable options for private hosting.
Sign up here for a 14-day free trial
3. Storyboard (starts at $1/subscriber)
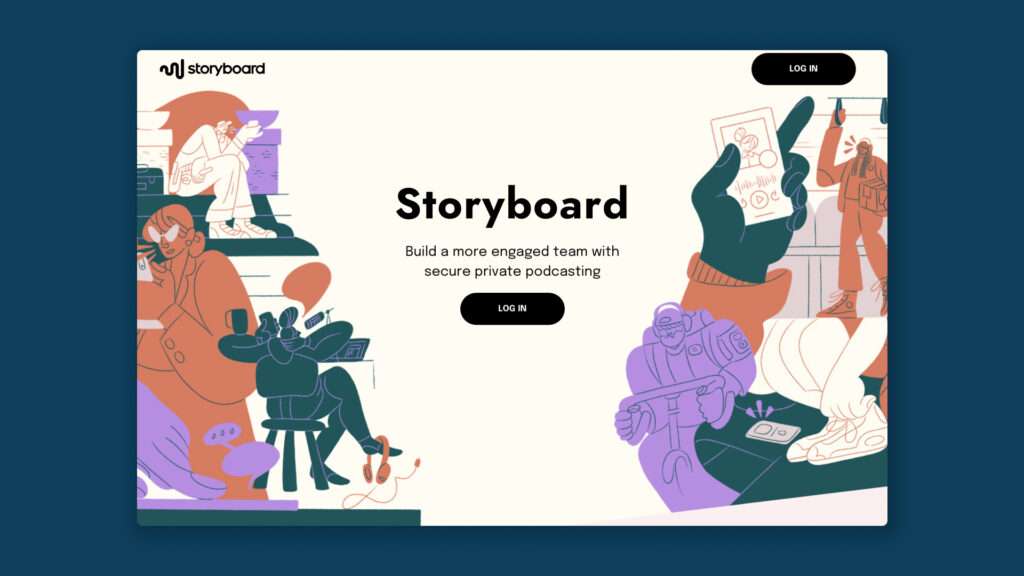
Storyboard is an enterprise-grade private podcast hosting company. Storyboard helps businesses distribute private audio securely through their mobile apps, see analytics on listener engagement and completion, record the podcast directly from the app, and more.
Storyboard is built for maximum security, and because they restrict access to podcast audio to their proprietary apps, they give you more control over how people listen and more visibility into analytics on how well your audience is engaging. The only downside of Storyboard is that it doesn’t allow listeners to hear your audio in their favorite podcast apps like Apple and Spotify.
Storyboard lets you sign up for free for the first 50 subscribers. After that, prices start at $1/subscriber for the first 350 subscribers. After that they ask you to contact them to discuss pricing for larger audience sizes.
4. uStudio (request a free demo)
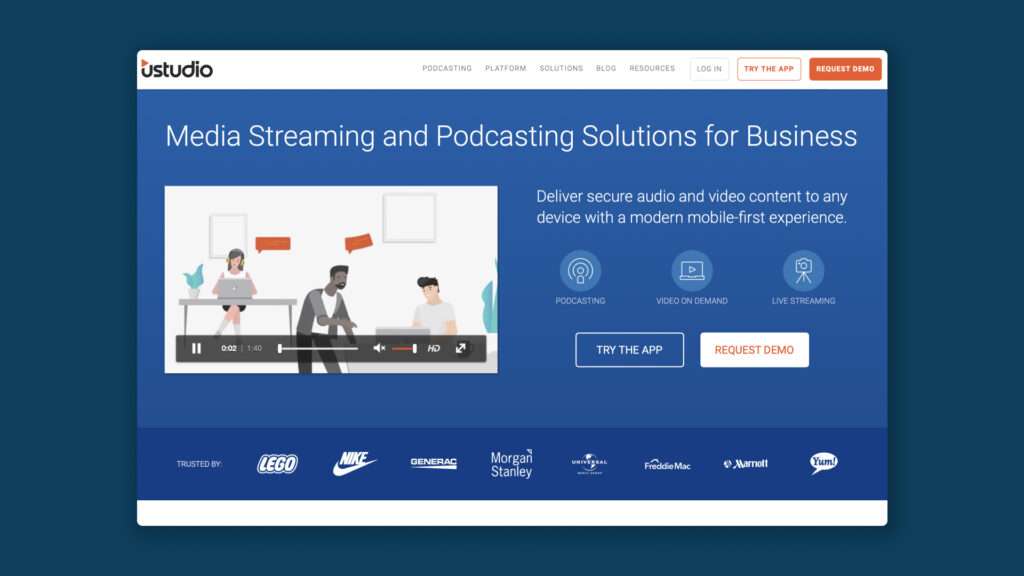
uStudio is another company that focuses exclusively on private podcast hosting for enterprise-level customers. They offer a powerful suite of tools to manage, distribute, and track the performance of a private podcast.
Listeners can only hear your podcast through uStudio’s web app and mobile apps, which gives you more control over the security of your content and insights into how people are engaging with your content. uStudio does not publicly list their prices on their website, but you can book a free demo with them to see if you like their solution before you sign up.
Get a free demo of uStudio here
5. Captivate (starts at $17/mo)
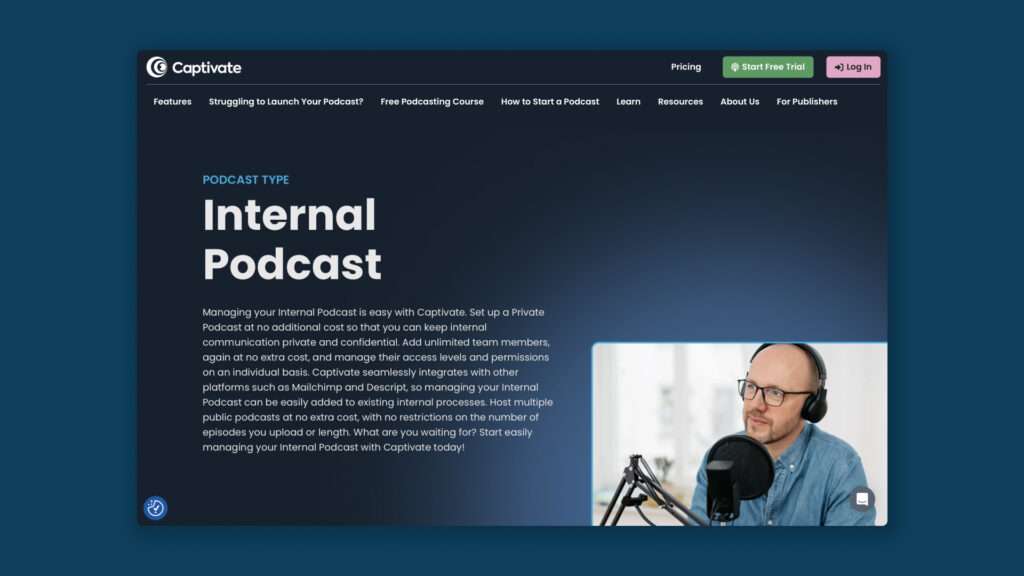
Captivate is a podcast hosting platform co-founded by Mark Asquith with the goal of making it easier and less daunting to start a podcast. Captivate’s private hosting is simple and easy to use. Their unique selling point is how they price their private podcasts.
They offer:
- Personal plans get 1 private podcast and 150 private subscribers
- Professional plans get private podcasts and 1,000 private subscribers
- Business plans get 3 private podcasts and 5,000 subscribers
Captivate’s private hosting starts at $17/mo (billed annually) for 150 private subscribers.
Sign up for a free trial of Captivate here
6. Castos (starts at $19/mo)
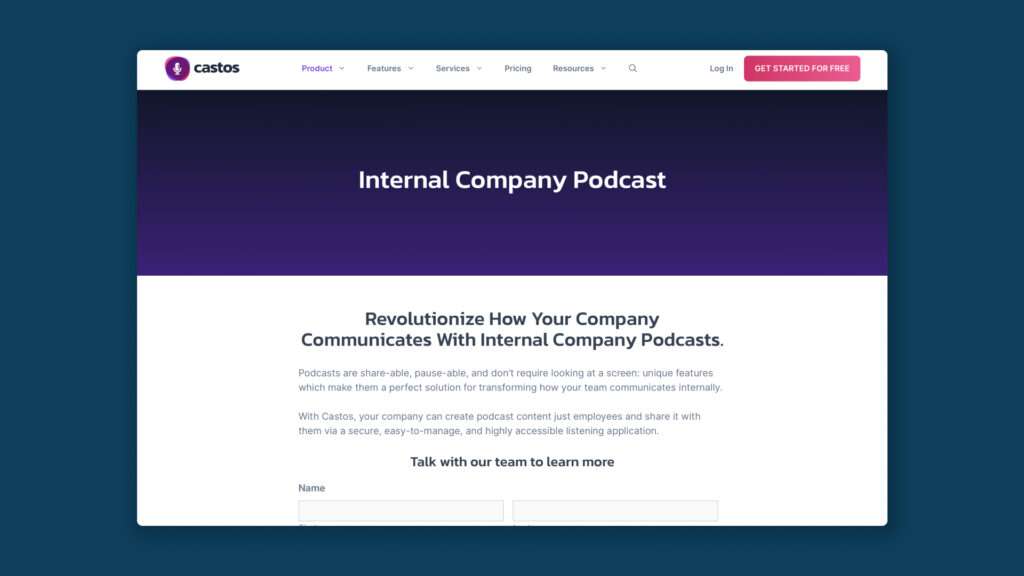
Castos lets you create a private podcast for your membership or internal podcast. They offer simple private RSS feeds for subscribers, shared through an email invitation.
Castos offers private hosting for all levels of their podcast hosting, starting with 100 private subscribers for $19/mo.
Sign up for a 14-day free trial of Castos here
7. Podbean (starts at $99/mo)
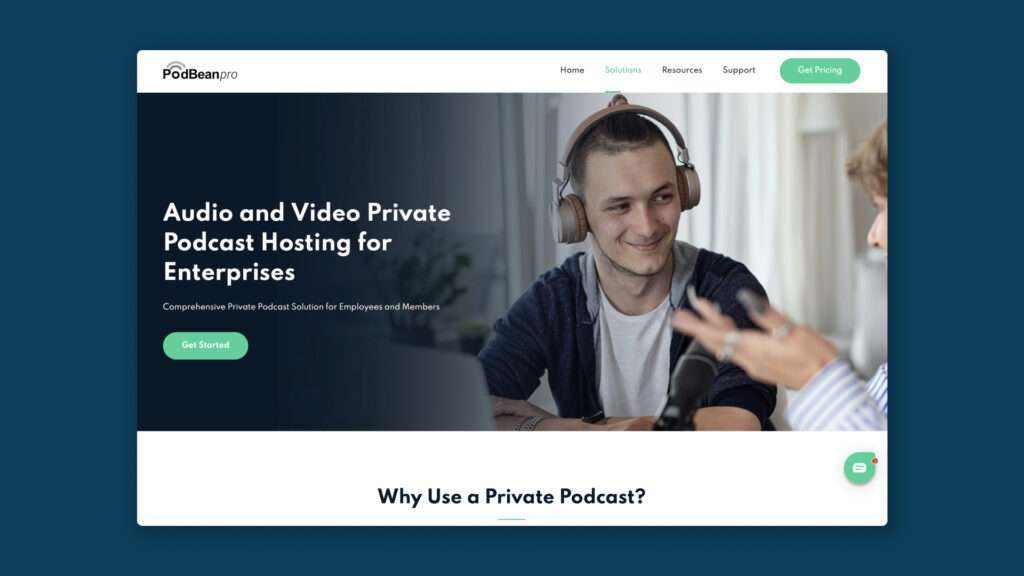
Podbean takes a unique approach to private podcasting, offering an enterprise-grade mobile app where you can share your episodes, group podcasts into channels for teams like management, product, and sales, and also measure detailed analytics on how each listener engages the podcast.
Podbean’s private podcasts are far less accessible than traditional private RSS feed services like Resonate or Transistor, but offer more advanced enterprise features, and provide higher security and insight into how listeners are engaging with a show.
Podbean’s private hosting starts at $99/mo (billed annually) for 100 private members.
Sign up for a free trial of Podbean here
8. Spreaker (starts at $20/mo)
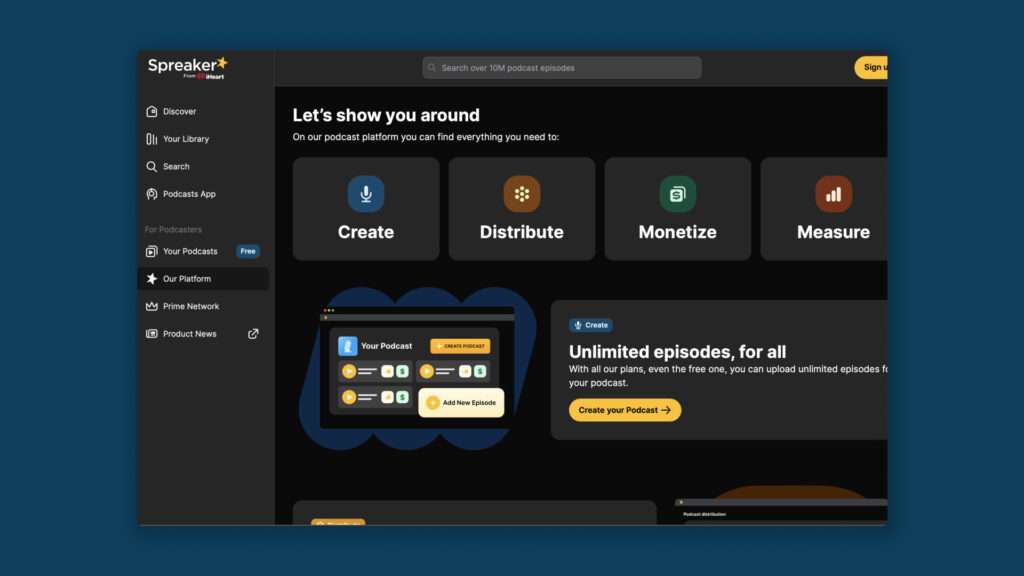
Spreaker lets podcasters make their podcast public (for everyone), private (for no one), and limited access (only available via an exclusive link). With Spreaker, you can make your entire show limited access or just a single episode. This added flexibility is wonderful.
Unfortunately, Spreaker’s private hosting features are somewhat limited. They only create a single private RSS feed that can be distributed to everyone. But this means that you cannot revoke access to one individual subscriber since everyone who is listening has the same RSS feed. You also cannot invite people via email, and you can’t track which individual listeners have downloaded your show.
Spreaker’s private podcast feature is available for users on their Broadcaster, Anchorman, and Enterprise plans, starting at $20/mo.
Recommended reading: Top 5 podcast hosting platforms
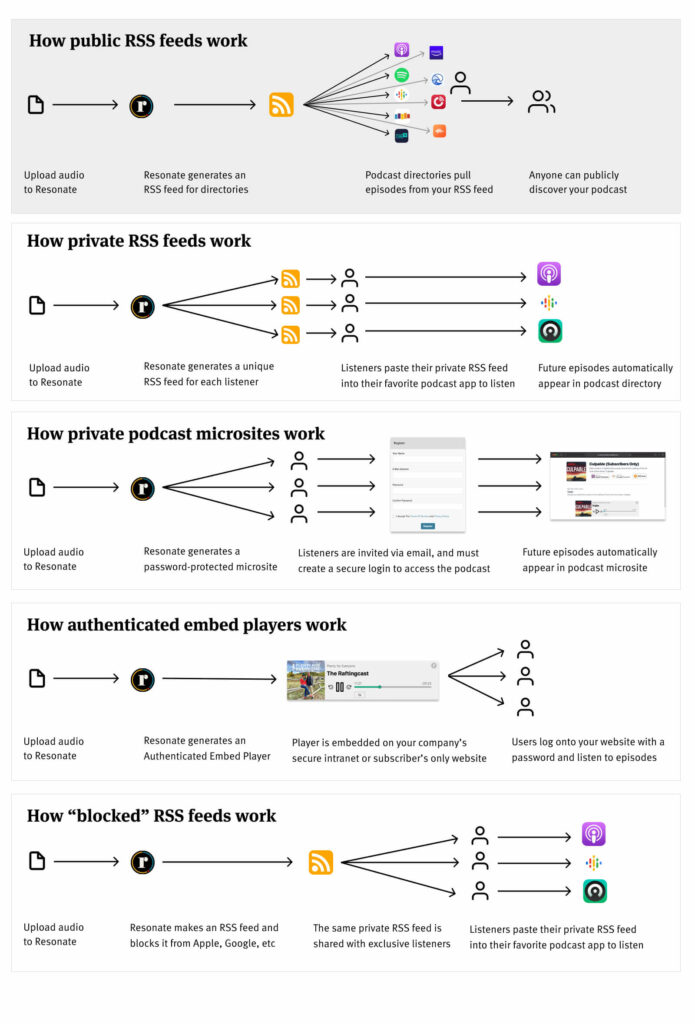
How do private podcasts work? (four methods)
1. Create a private RSS feed for each individual listener
Accessibility: High
Privacy: High
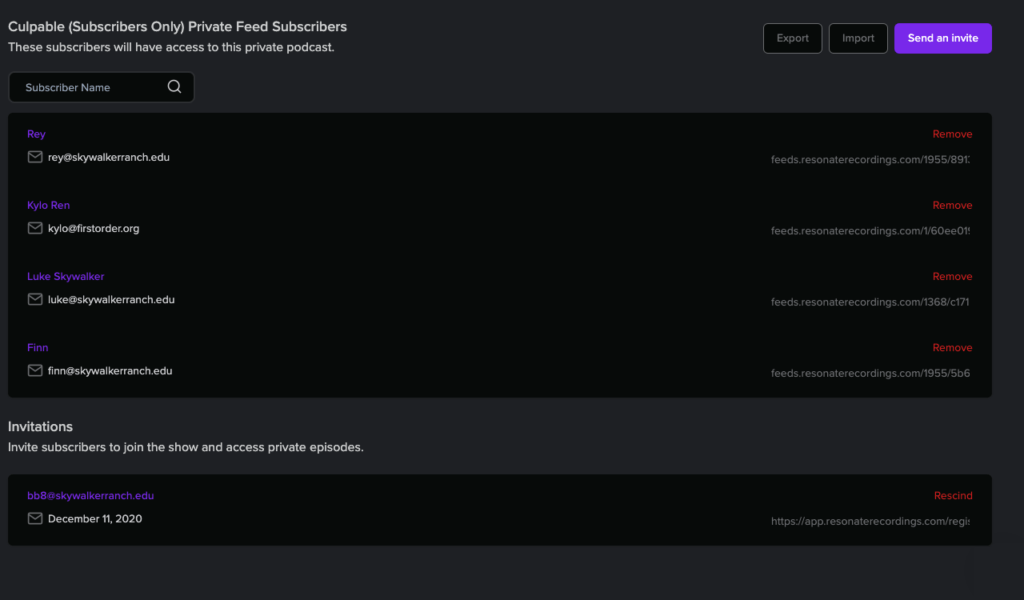
Private RSS feeds (aka unique RSS feeds) create a separate audio feed for each individual listener of your podcast. Platforms like Resonate, Transistor, and Castos are excellent for creating private RSS feeds.
Just add your listener’s email to your podcast hosting platform of choice, and they will get an email inviting them to subscribe to your podcast. Next, your listeners can import that RSS feed into their favorite podcast listening app of choice, like Apple podcasts.
After that one-time setup, your listeners will get notified in their listening app anytime you publish a new episode of your podcast.
Want to remove someone from your list? No problem. You can remove their private RSS feed without affecting any of your other listeners.
The only problem with this method is that after someone downloads your file it will live on their device indefinitely.
2. Use a dedicated private podcast app

Accessibility: Low
Privacy: Very High
Private Podcast apps like Storyboard and uStudio distribute your content to listeners exclusively through their proprietary apps, meaning listeners can only listen to your audio if they log into a password-protected account on one single app.
Private podcast apps are one of the most secure ways to deliver audio to your network.
The tradeoff of these apps is that listeners cannot listen to your podcast on their favorite podcast app like Apple podcasts. It can be harder to get buy-in from your team if they have to download a new app, log in to an account, etc.
3. Share your podcast on a password-protected website with an authenticated embed player

Accessibility: Low
Privacy: High
Podcasters can choose to put their podcast on a gated website to create an exclusive membership/subscription podcast to make money on their show. In addition, businesses can add a podcast embed player from a platform like Resonate directly to their intranet or a secure password-protected web page to only allow listeners to hear their podcast at that secure domain.
4. Block your podcast from being indexed
Accessibility: High
Privacy: Low
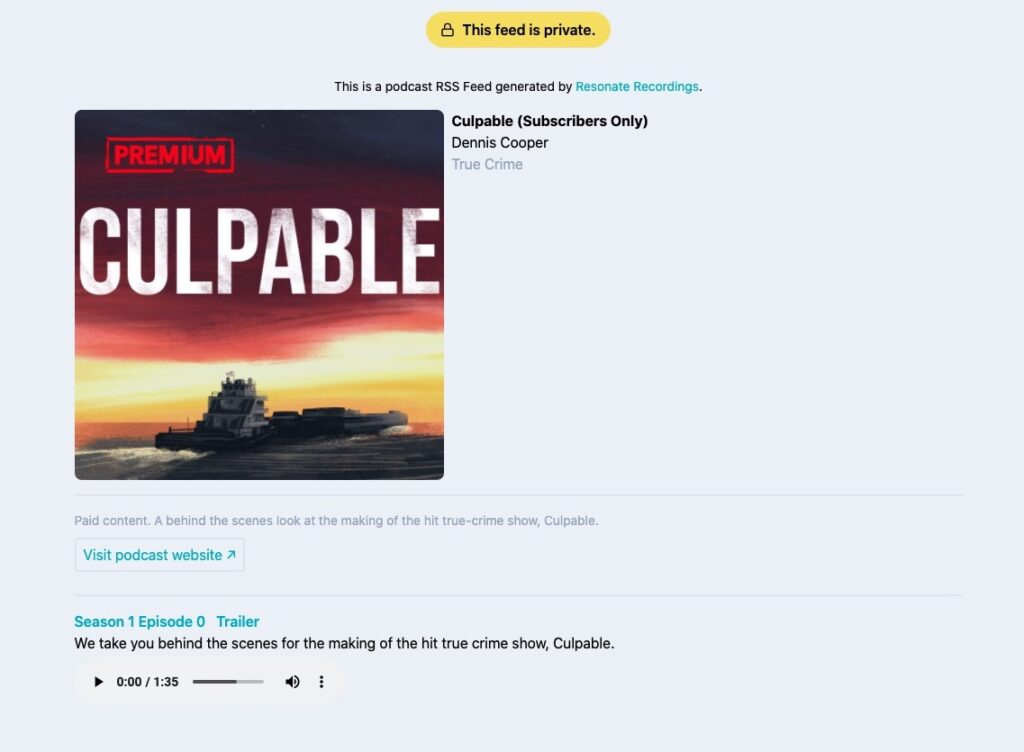
The fourth way to create a private podcast is to simply “block” your podcast from being discovered by Apple, Spotify, and Google Podcasts. In this method, your podcast has one RSS feed that only you can share with as few people as you like.
All private podcasts by default are not discoverable on Apple Podcasts, so this practice is the bare minimum practice required to ensure your podcast is private.
If you want to simply avoid being discovered by random people searching podcast apps, then this is a good method for you. But if you want something more secure, we recommend using one of the other methods listed above.
This method is not very secure, because anyone with your RSS feed can subscribe to the podcast. That means that any of your listeners could publish your RSS feed online and send it to an unauthorized listener and they would be able to subscribe immediately.
5. Share your private podcast on a membership site
Accessibility: High
Privacy: Medium
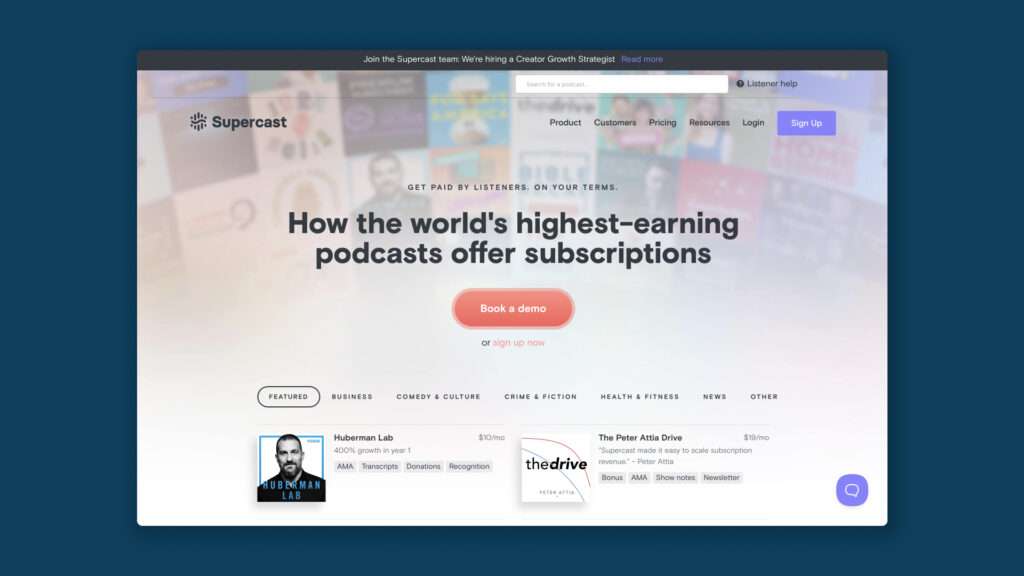
You can also create a private podcast by requiring a monthly subscription to your podcast. Platforms like Supercast and Patreon give you the ability to generate a private RSS feed for your listeners whenever they sign up for a monthly membership.
These platforms are free to set up, but require you to share your profits to offset the cost of hosting and subscription management. Your listeners just have to visit a link, put in their credit card information, and then you get paid out each month through Stripe.
Ready to start your own private podcast?
Are you interested in starting a private podcast for your organization? Book a free call to get a quote and learn more about Resonate’s private podcast hosting.
FAQs about private podcasts
What is a private podcast feed?
A private podcast feed can refer to two different but similar things:
- An individual private RSS feed that only 1 person has access to
- An RSS feed blocked from Apple, Spotify, and Google’s directories
What podcast apps support private podcasts?
Each of these podcast apps below lets you import a private RSS feed directly into the app. The process varies for each platform, but typically it’s as easy as copy and pasting the unique URL into the app and importing. We pulled much of this list below from Transistor here, and confirmed several additional platforms ourselves.
- Apple Podcasts
- Google Podcasts
- Overcast
- Player FM
- Pocket Casts
- Podcast Addict
- Breaker
- Castbox
- Castro
- Downcast
- Podcast Republic
- Dog Catcher
- Beyond Pod
- Podcasty
- PodKicker
What podcast apps don’t support private podcasts?
Unfortunately, each of the apps below does not let you listen to a private RSS feed through their app.
- Spotify
- Google Play
- Stitcher
- iHeartRadio
- Amazon Music
- Pandora
- Acast
- PodcastOne
- Podcast App
- DoublePod
- PodcastHD
- Podcast Guru
Can podcasts be private?
Yes. Podcasts can be privately shared privately in several different ways. You can generate a private RSS feed for each individual subscriber through a hosting platform like Resonate, which can then be revoked at any time if that person leaves your company or stops paying for the exclusive podcast. You can “block” your RSS feed from being indexed by Apple, Google, and Spotify. You can also share a podcast securely through a password-protected website using an authenticated embed player or a password-protected microsite from a podcast host. Lastly, you can share your podcast privately through membership sites like Supercast and Patreon.
There are several different ways to privately share a podcast, but at the end of the day, recorded audio can always be shared in more ways to the wrong people. It’s important to know that once the audio is delivered to someone over the internet, it is always possible for the audio to be scraped, ripper, or screen recorded and shared with other people. Always exercise caution and if it shouldn’t be shared with anyone, simply don’t share it on the internet at all.
How do I listen to a private podcast?
If you subscribe to a private podcast and get an RSS feed sent to you, simply copy the RSS feed and paste it into your favorite podcast app like Apple, Google Podcasts, Overcast, Castro, etc.
Recommended reading: How to listen to a podcast
Where can I host a private podcast?
If you are starting a private podcast for your business or organization we recommend hosting with Resonate, Storyboard, uStudio, or Transistor. If you are starting a private podcast for monetizing your show with a monthly membership, we recommend hosting with Transistor, Supercast, Patreon, or Castos.
