


You have booked the interview of a lifetime. The excitement turns to concern the moment the guest’s assistant emails back a plain phone number. You had planned to send detailed remote-recording instructions. Sending those instructions now risks losing the interview. You are stuck with a phone call recording.
This scenario is common. Remote and phone-call recordings are unavoidable at times. The reality is that phone signals pass a limited frequency range. The best-sounding phone call recording will still sound like a phone call recording. Listeners are generally accepting of this so long as the host audio sounds good. As a podcast production agency that records phone interviews for client shows every week, we built this guide around the setup that consistently produces the cleanest phone-call recording. The setup produces the cleanest recording the phone signal allows.
The main goal is not studio-quality phone audio. That is not physically possible over a phone signal. The main goal is a clean, listenable recording where the host sounds excellent and the guest sounds like a phone call in a good way. Below, the method, the equipment list, three alternatives for different setups, and the honest trade-offs of each.
Resonate Recordings has produced over 50,000 episodes since 2014. We record phone interviews for client shows across B2B brands, executives, and independent creators. The local-recording setup below has held up across seven years of use. The gear list has evolved. The core method has not.
Equipment to Record a Phone Call
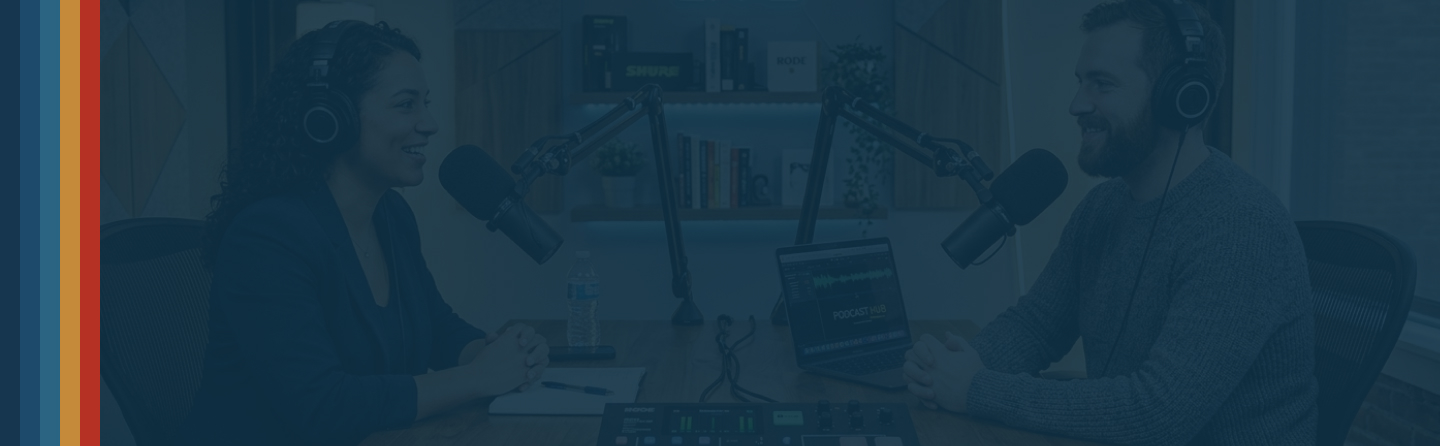
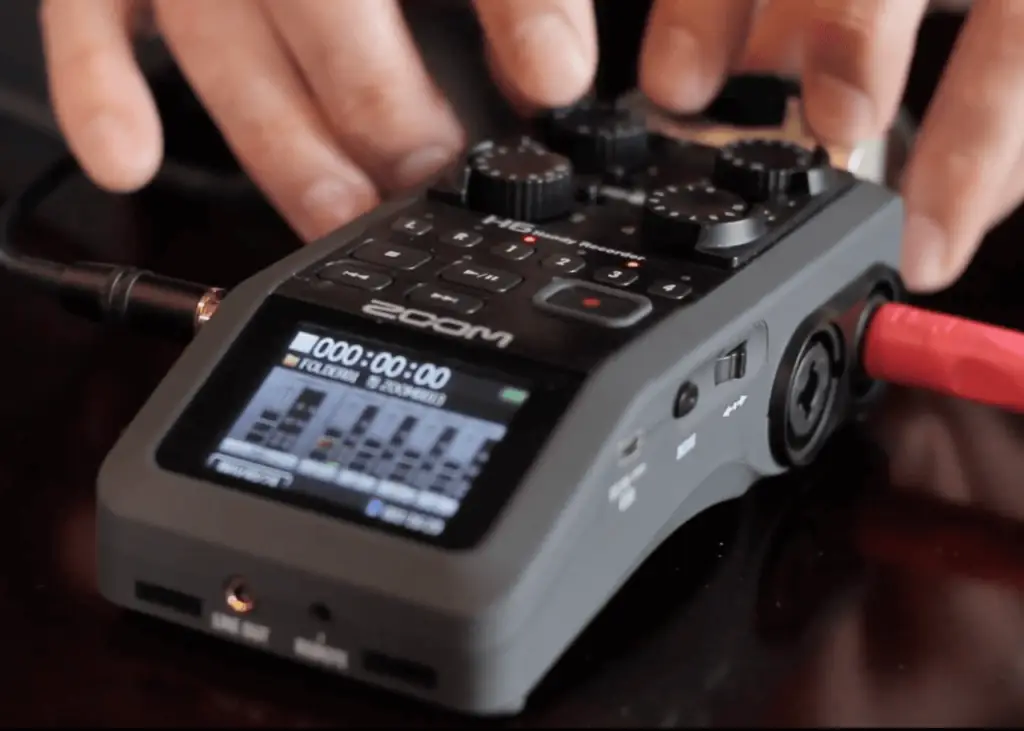
The equipment list below matches the setup shown in the video above. Some pieces can be swapped for equivalents. The Zoom H6 remains the recorder we still recommend after seven years because the failure rate is low and replacement parts are everywhere.
The Full Gear List
The pieces you need for the local-recording method: 1/8-inch to 1/4-inch cable to connect the phone output to the recorder input. An iPhone or smartphone with a 1/8-inch output, or the Lightning adapter if you have a newer iPhone without a headphone jack. Closed-back headphones so you can monitor without the microphone picking up the guest audio. A dynamic broadcast microphone with a mic cable. A Zoom H6 handheld recorder with combo (Neutrik) connectors. Plus a pop filter and a mic stand with boom arm.
One 2026 update worth noting: the Zoom H6 Essential model records in 32-bit float, which means you cannot clip the audio no matter how loud the input peaks. This is genuinely useful for phone calls where you have limited control over the guest’s signal level. Our guide to the best studio headphones for podcasting covers the matching monitoring gear.
Before the Phone Call
Set up the signal chain first, then check levels before making the actual call. Rushing the setup is the most common source of recordings that come back unusable.
The Signal Chain (Step by Step)
Plug the 1/8-inch end of your cable into the 1/8-inch output on your iPhone or smartphone. Take the other end (the 1/4-inch side) and plug it into the Neutrik combo input on your handheld recorder or audio interface. The Zoom H6 remains our top pick because it is reliable, simple to use, and the file-recovery in the H6 Essential model handles input clipping automatically.
Next, plug your microphone into a separate input on the handheld recorder. Then plug your headphones into the recorder so you can hear both the microphone and the guest on the phone. Power the handheld recorder on. Put your headphones on. Record-enable your microphone input by pushing the coordinating numbered button on the front of the recorder, then record-enable the input coordinating with the phone signal.
Set Your Levels Before the Call Connects
Watch your input level and adjust gain to avoid peaking. This matters because a level that is too hot distorts the audio and cannot be fixed in post. A level that is too low reduces quality and introduces room noise. Locate the input knob on your recorder and adjust gain so your levels sit around -12 dB. Our review of microphone technique for podcasts covers the matching mic discipline for the host side.
Important: the caller will hear you only through the microphone on your phone. Keep the phone close to your mouth so the guest can hear you clearly. This is a common point of confusion. The phone’s internal microphone stays engaged and the guest will still hear you only through the phone’s built-in mic. I like to raise the phone off the desk with a shoebox or small stand so the phone mic sits closer to my mouth during the recording.
Recording the Call
Once levels are set, the actual recording is mostly about staying out of your own way. A test call before the interview surfaces most problems.
Run a Test Call First
Push the record button. The timer starts counting on the front of the recorder. Check the phone-audio level before making the real call. Make a test call, or play music from the phone to check the input level. Make sure the phone volume sits at least halfway up. Adjust it the same way you would adjust any phone call. Once the phone volume is set, adjust the coordinating input gain on the handheld recorder until the level sits around -12 dB.
During the Actual Call
From here there is little maintenance beyond consistent microphone technique on your side and monitoring that levels do not peak. Keep the recorder or audio interface as far from the phone as possible to minimise interference from the phone signal. Our guide to how to record a podcast covers the broader recording-session discipline this method fits inside.
Ending the Call
The recording saves automatically. The remaining steps are about getting the file off the recorder and into the editing pipeline cleanly.
Save the File and Move to Post-Production
Once the phone call ends, hit stop. The recording saves automatically onto the SD card in the handheld recorder. Take the SD card out and drop it into a computer, or plug the handheld recorder in via USB to upload the files. From there the files move into post-production.
That is essentially it. With a few pieces of equipment you now have a clean host track and a phone-signal track separated on individual channels. The mix engineer can level the two independently, apply light EQ to the phone track to make it sound less muddy, and match perceived loudness across the whole conversation.
Other Ways to Record a Phone Call
The local-recording method above is our preferred method. Three alternative methods work in different situations. Each has clear trade-offs against the local method and against the others.
1. TapeACall (iPhone App)
TapeACall is easy to use for straightforward call recording. If you need to record a phone call primarily for your records rather than for broadcast, this is likely the simplest method. Download the mobile app, dial your guest, merge the call to the TapeACall number. The app records both incoming and outgoing calls from your phone. The recording quality is noticeably lower than the local-recording method described above. Fine for reference. Marginal for podcast publication.
Pricing in 2026: TapeACall Pro subscription. The free tier only lets you play back the first sixty seconds of each recording, which makes it functionally useless without upgrading.
2. Zoom (Video Conferencing Platform)
Zoom is easy to use and works well as a phone-call recording option. Both video and audio can be recorded, and the guest can connect via computer, mobile app, or traditional phone call. With Zoom the audio quality varies with the health of the internet connection or phone signal. Our detailed review of recording a podcast using Zoom covers the specific settings that produce the cleanest Zoom recording.
The key trade-off with Zoom: it compresses audio for live latency, which means the cloud recording quality is acceptable for meetings and marginal for podcasts. The workaround is asking each participant to record locally on their device during the session and swapping the local files in post. This is the double-ender method and it is the standard for remote podcast recording in 2026.
3. Rev Call Recorder + Google Voice (Modern Skype+AudioHijack Replacement)
Microsoft officially retired Skype in May 2025, which killed the Skype+AudioHijack workflow this post originally recommended. The 2026 replacement uses Rev Call Recorder as the iPhone-based recording layer, with Google Voice as the outbound calling layer for interviews to landline or lower-signal numbers. Rev Call Recorder is free. Google Voice numbers are free for personal use and $10 per month for business. Our guide to remote recording methods and platforms covers the broader replacement stack.
The setup: install Rev Call Recorder on your iPhone. Sign up for a Google Voice number. Use the Google Voice number to call the guest so the recording starts cleanly. Rev captures both sides of the conversation with automatic transcription. You then export the audio file and drop it into the editing pipeline. The quality is comparable to the old Skype+AudioHijack method and is easier to set up.
Conclusion
If you have made it this far, I hope any anxieties about recording a phone call have eased. There may be variation in the process depending on the specific gear you use. The core method above has held up across seven years of use across thousands of client recordings. The gear list has evolved. The signal chain has not.
The honest verdict: the best-sounding phone call recording still sounds like a phone call recording. Accept the physical limit. Focus on making the host audio excellent and the guest audio as clean as the phone signal allows. Listeners are gracious about phone-quality guest audio when the host quality is strong.
If you totally blow it or the quality of the recording is not up to par, our team can help with the mixing and mastering side. Book a strategy call with us and we can walk through the cleanup options.
Strategy-first. Production second. Growth always.