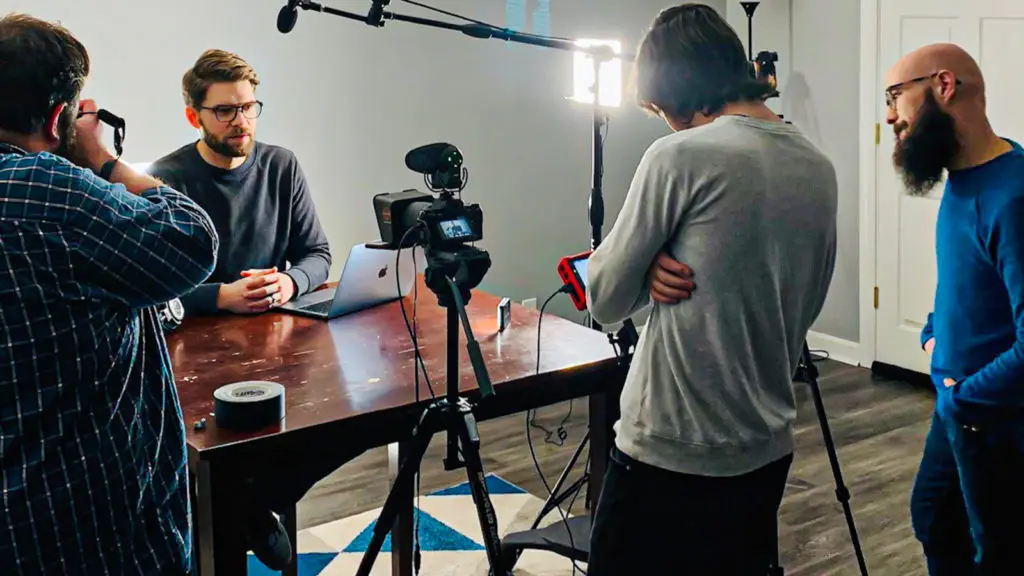
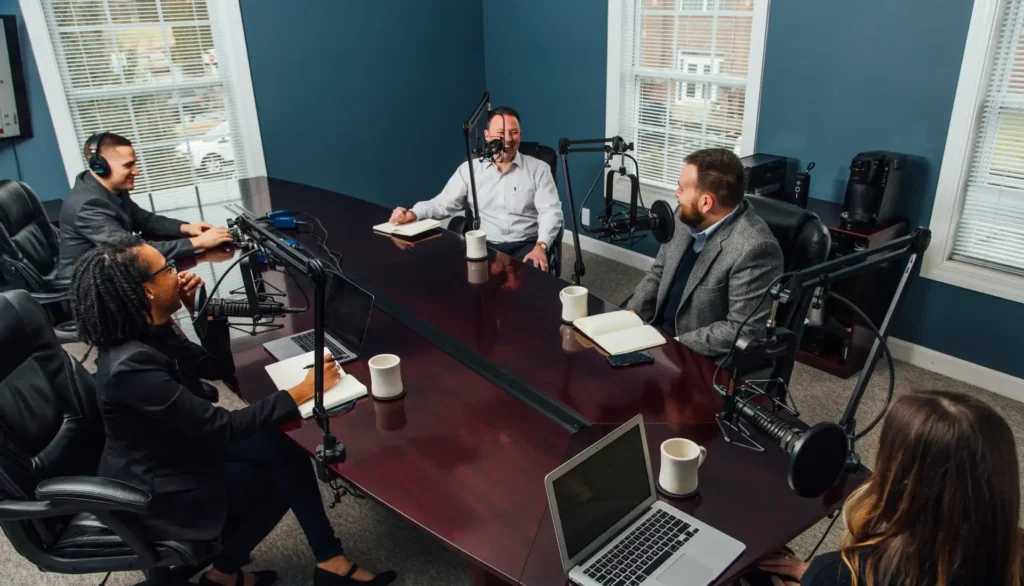
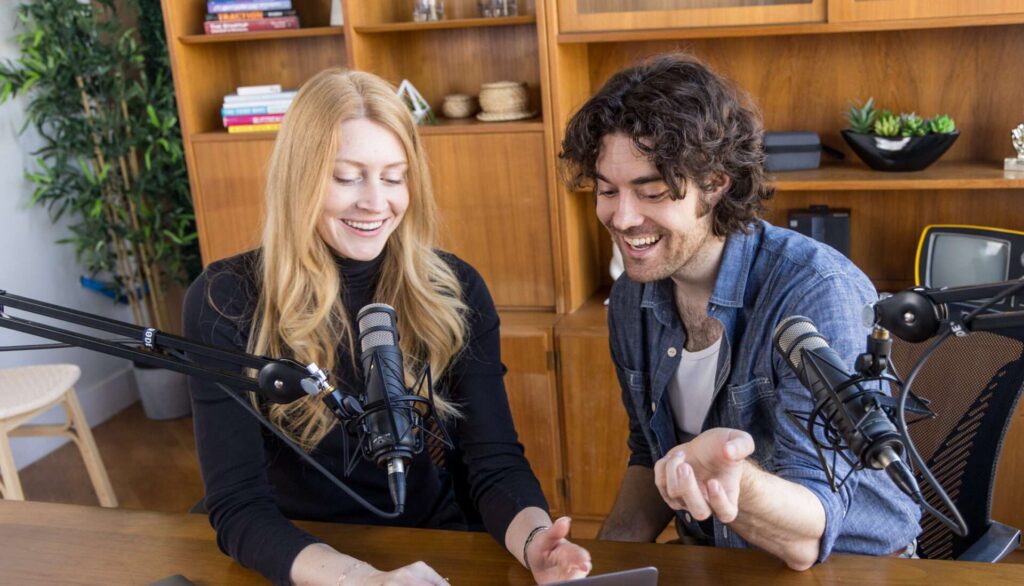
Video is a significant part of today’s podcasting landscape. YouTube is one of the biggest search engines in the world, and if you’re not taking advantage of that, you’re missing out on an incredible opportunity to reach a new demographic of people with your message. Having the right equipment for your situation is critical and will ensure that you are not putting too much of a burden on your current workload.
The purpose of this article is to present you with three sets of equipment options in different price ranges so that you can make the right purchases for you and your growing brand.
Before we get into the equipment packages, there are a few questions that need to be answered prior to purchasing anything.
What style of video do you want for your podcast?
The style is going to determine your equipment needs. Is having multiple camera angles a dealbreaker for you? If it is then all your camera equipment has to be multiplied by two or three or however many angles you intend to have.
What is your recording environment?
There are many people who have successful YouTube channels that record in their bedroom, but how many of those YouTubers have dirty laundry on their floors, or harsh or low lighting situations. Does your podcast ever record on location? You will need equipment to transfer your equipment from location to location effectively, and all your equipment will need to be more versatile in order to achieve a desired outcome, regardless of the setting and situation.
How do you want to get your videos to your audience?
Do you intend to broadcast your podcast live? There is specific equipment and software that you will need to have in order to get the video signal from your camera to you computer. You can learn the basics of livestreaming in our post on How to Make a Video Podcast.
Whether you do a livestream or not, we recommend adding your podcast to YouTube.
Package 1: Under $500
- Sony a5100 Camera $350 (Used)
- Viltrox 30w Dimmable Bi-Color LED Light Panel $70 (New)
- Light Stand $25
Sony a5100 Camera- $350 (Used)
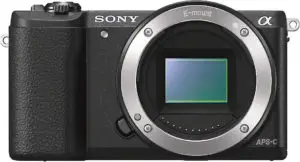
I was surprised with how small and light the a5100 is. Paired with the 16-50mm lens included in this link, it weighs less than a pound, and can almost fit in your pocket.
The Sony a5100 is a great camera, and if you take my advice, you can find one used for under $350. I’ve even seen some as low as $250. At that price range, this camera is absolutely the best bang for your buck.
There is one feature on this camera that sets it apart from a lot of cameras out there… The flip-up screen. The LCD screen on the back of the Sony a5100 flips up from behind the camera and sits right above the viewfinder. The screen shows you what your camera is pointed at, and it gives you the ability to keep yourself in the frame (which is critical if you will be podcasting by yourself).
There’s nothing worse than recording an entire segment only to realize your face is cut off, or you are out of focus. There are several Sony cameras that have better image quality, but most of them don’t have a flip-up screen and none of them are available for under $500 with a lens.
Viltrox 30w Dimmable Bi-Color LED Light Panel- $70 (New)
Buy the Viltrox 30w LED light here
Pros: Cheap, Bright, Flicker-free, Diffuse Light, Warm as well as Cool light, portable, battery powered, High CRI index
Cons: No stand, not directional
This light is by far the best budget light available right now. There are a few negatives that I described above, but the few negatives are massively over-shadowed by the extensive list of positives.
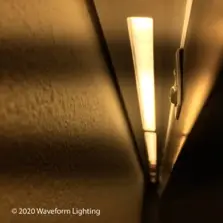
The first positive is that this light uses what is called “Flicker-Free LEDs” and it prevents the flickering or banding that is shown in the picture below. If this were a video, those shadowy bars would be moving up or down the screen. The flickering happens because the rate of the LED cycle is off slightly from the shutter speed of the camera. Sometimes, you can fix it by changing the shutter speed slightly, but that’s not recommended. This light is one of the cheapest Flicker-Free lights available.
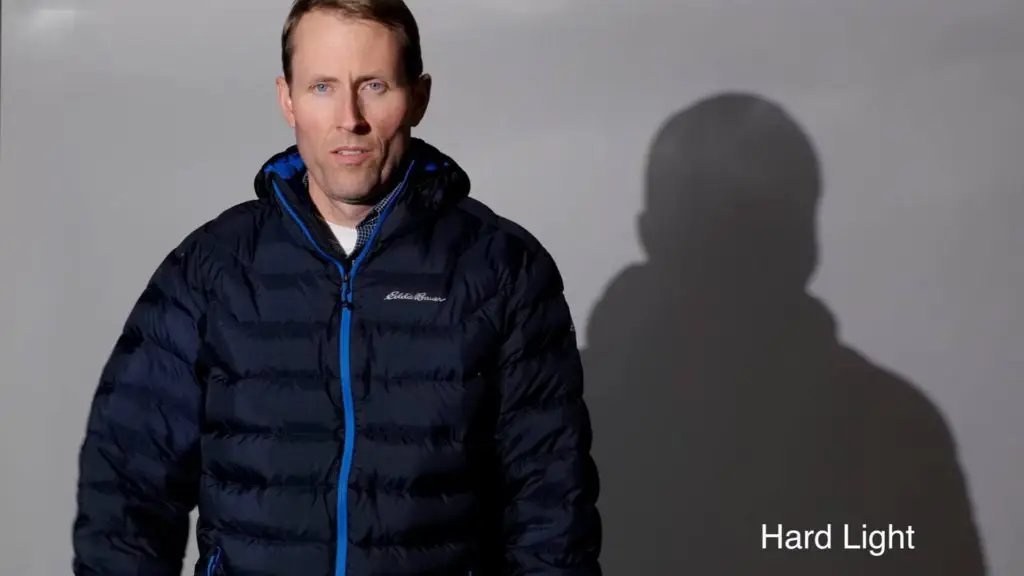
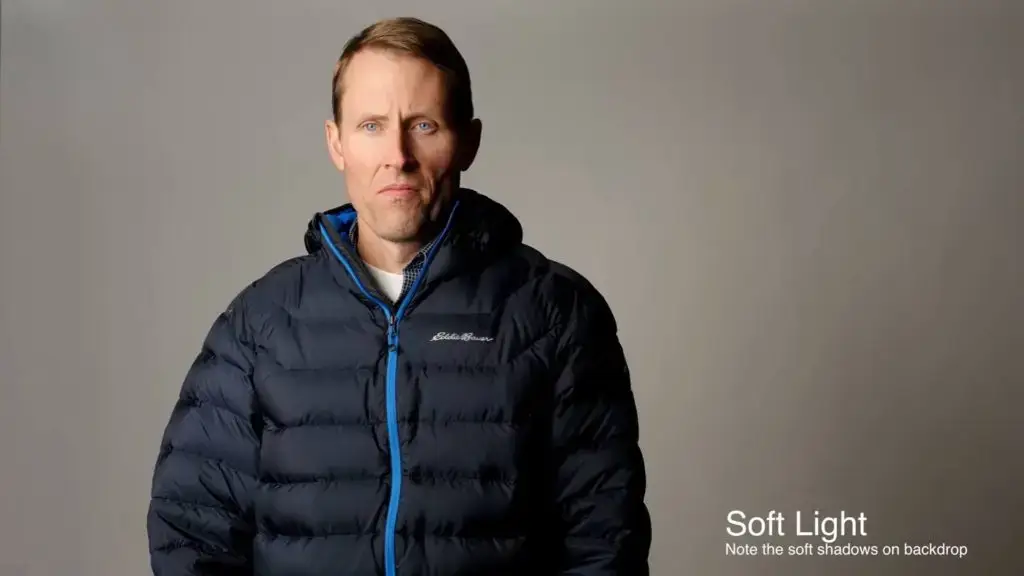
The slight diffusion on this light is another strong positive. Diffusion spreads out the light and causes it to bounce off other surfaces. This leads to a softer light coverage that is not as harsh as direct light. Check out the shadows on the first example. There is a lot more contrast and harder lines because all the light is traveling straight at the subject. The second example is diffuse light. Look at the shadow cast by the exact same subject. Diffuse light is a critical piece of the puzzle when it comes to putting together a budget video podcast kit.
Light Stand $25
This is just a standard light stand, so feel free to look for another one with different features, or use one that you might already have.
Package 2: Under $1000
On this package, we’re keeping the same light and stand from the $500 package, and just swapping out the camera. In this package, we’re going with the Sony a6400.
Sony a6400 Camera- $860 Used

The Sony a6400 takes all the positives of the a5100 and adds a few more. The camera has Sony’s newest image sensor which is more accurate and is helpful when it comes to editing. More accurate colors on the front end means less work in post-production to get the colors to look true to life.
This camera also boasts an upgraded focusing system. The Sony a6400 has 425 detection points which cover 84% of the sensor compared to only 179 detection points on the a5100. If you’re someone that moves around a lot, this might be a critical upgrade for you, and you can be confident, knowing that the a6400 has you in focus.
Much like recording high-quality audio for your podcast, a good product starts at the source. Upgrading your camera and spending the appropriate time to set the exposure is crucial to creating a compelling product.
Tips on Using Your Video Equipment
- Cloth Grocery bag to further diffuse light
- Don’t be afraid to buy used equipment
- Test your equipment and software before you commit yourself to including it in your workflow.
- Invest in a few portable battery packs.
Next Steps
Once you purchase your video equipment, set up your room, get the lighting right, set the exposure on your camera, it’s time to hit record. If you are looking for more advice on how to capture high quality audio for your video podcast, check out our guide to the best podcast recording equipment.
When it comes time to hit record, make sure you double-check everything before you get started.
- Frame
- Room lighting
- Camera exposure
- Hair and outfits
- Audio levels
- Cleared SD Cards
Finally, once you have set up, double-checked everything, and recorded your show, it’s time to edit your content. We recommend editing in Adobe’s Premiere Pro.
Conclusion
Don’t want to deal with the hassle of color grading, chopping up content, adding animations and intros and outros to your video? We offer turnkey video editing and audio editing services to improve the quality of your podcast and free up your time so you can focus on the content of your podcast. Book a free discovery call with our team or email us today to learn more about our services.
