


Recording is permanent. This guide on how to record a podcast comes from my review of the main recording tools. The rules are simple, and most failed sessions break them. Any full-service podcast production agency will tell you the same thing: audio you capture badly cannot be rescued.
Most guides list gear. This one lists decisions for recording a podcast, and it answers how do you record a podcast without wasting a session. You will choose a room, a mic distance, a level, a file format, and a backup. Get those five right and almost any microphone sounds good.
I cover in-person sessions, how to record a podcast remotely, the podcast double ender method, and phone-only guests. If you wonder how do you do a podcast start to finish, or how to produce a podcast after the session, the last sections point the way. Each section gives a number you can test, so you can stop guessing.
Start with the room, not the microphone
A quiet room beats an expensive mic. Hard walls bounce your voice back to the mic as echo, and no setting removes that cleanly. A small room with soft items cuts it down fast.
Walk the room and clap once. If you hear a ring or flutter, add soft items. A rug, a couch, curtains, and a bookshelf full of books all help. A closet full of clothes works well for a solo show.
Then listen for noise you stopped hearing: a fridge, a fan, a laptop fan, a window hum. Turn off what you can. Noise is easier to prevent than to remove.
The Wireless Headset Trap
Do not record through wireless earbuds. Adobe’s guide to remote recording tells guests who wear wireless headphones to switch to the computer’s built-in microphone for better sound. Many wireless headsets use a weak microphone and compress the voice. Wear wired headphones, and use them only to listen.
Set mic distance and levels
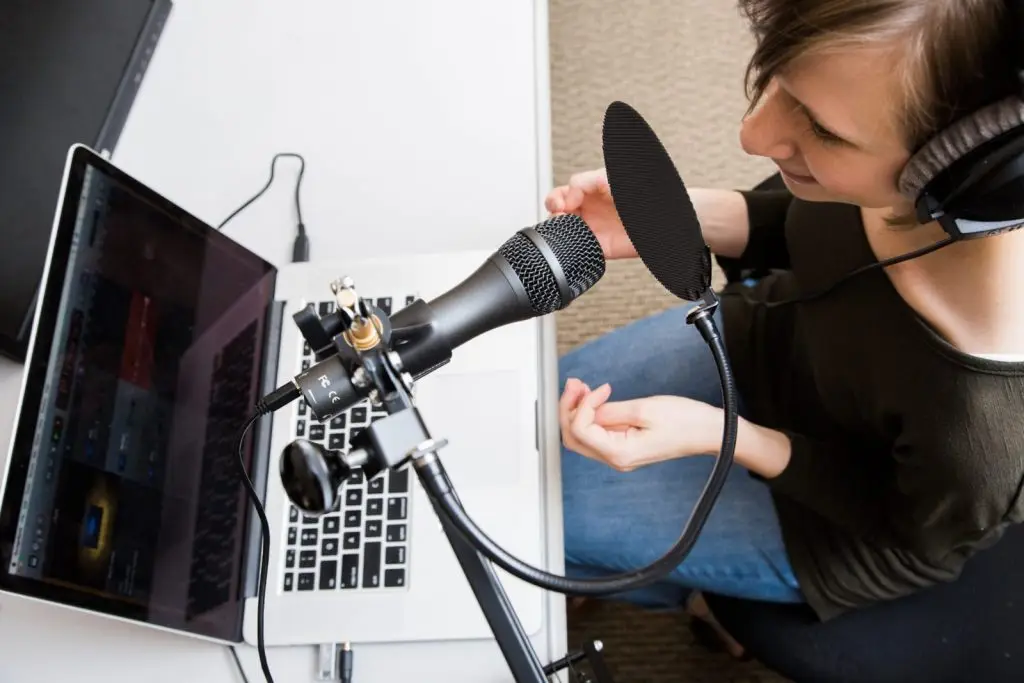
Place the microphone about 4 inches from your mouth. Buzzsprout’s remote recording guide, published December 17, 2025, uses the same distance. A closer mic raises your voice above the room noise. A farther mic picks up more of the room.
Speak across the front of the mic, not straight into it. This reduces the hard “p” and “b” sounds. For a deeper look, read our guide on podcast microphone technique.
My working level rules
These three numbers are the rules I use. They are my practice, not an industry standard, so test them with your gear.
- Keep your loudest peaks below minus 6 dB on the meter.
- Aim for your normal speech to sit around minus 18 to minus 12 dB.
- Never let the meter touch zero. A clipped recording is damaged for good.
Here is the counterintuitive part. Apple’s audio requirements ask podcasters to deliver about minus 16 dB LKFS, with true peaks at or below minus 1 dB FS. That loudness is set in editing, after you record. Because you can raise a quiet recording but not repair a clipped one, the safer habit is to record a little quieter than feels right.
Choose your file settings
Record in a lossless format, then export the compressed version later. Record WAV. Choose 24-bit and 48 kHz.
Apple Podcasts accepts WAV or FLAC and recommends 24-bit audio. For files delivered as WAV, it sets a minimum of 44.1 kHz and recommends up to 192 kHz. RØDE’s help center says the RØDECaster runs at a fixed 48 kHz and tells Riverside users to set 48 kHz. Both fit the 48 kHz choice. Zoom’s high-fidelity mode also uses 48 kHz, according to Buzzsprout’s guide.
Stereo or mono does not matter for a single voice. Apple rejects single-channel WAV files, so your editor will usually export a stereo copy. Do not worry about it at the recording stage.
Do not record straight to MP3. MP3 is a finished format. Each time you edit and save it again, you lose more detail.
Why recording level advice differs, and what to do
Read three guides and you get three level targets. Castos says to set input levels around minus 18 to minus 20 dB. G2 says to peak around minus 10 to minus 12 dB. Mine sits between them.
The gap makes sense. Each number describes a different point on the meter. One is where normal speech sits, and the other is where your loudest peaks land. Pick one rule for speech and one for peaks, and write both on a sticky note.
Mic distance varies too. G2 suggests 2 to 3 inches, Zoom suggests 4 to 6 inches, and Castos suggests about two fingers from the pop filter. Four inches sits in the middle. Test your own voice, because a deep voice and a bright voice react differently.
None of the three guides gave me a loudness target for the final file. Apple does, and it is set in editing. That is why I tell people to record clean and quiet, then fix loudness later.
Podcast recording software: how to record a podcast on your computer
Many people ask how do i record a podcast on my computer, and the best way to record a podcast is the simplest one that saves WAV files. Castos walks through Audacity, GarageBand and QuickTime on a Mac. G2 lists Descript, Riverside and Logic Pro. Any of them works if you set the file format first.
What do i need to record a podcast on a computer? A microphone that plugs in by USB or through an interface, wired headphones, and one piece of podcast recording software. Make a ten second test, play it back, and check the file type before the guest joins.
For the easiest way to record a podcast with a guest, use a browser tool. For the highest quality, use a double-ender. Both need a backup. Most guides I checked do not mention backups at all, and none of the three explained file names.
Use one naming pattern every time. Show name, episode number, date, then speaker. A file called Untitled 4 is a risk once you have thirty of them. Keep the how to record audio for a podcast steps in a checklist so a new team member can repeat them.
Record in person
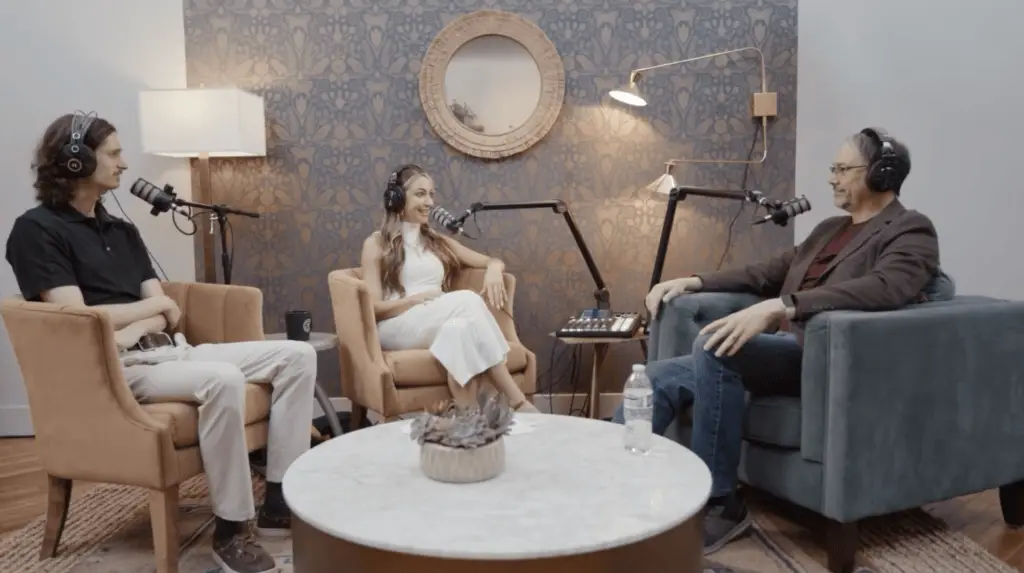
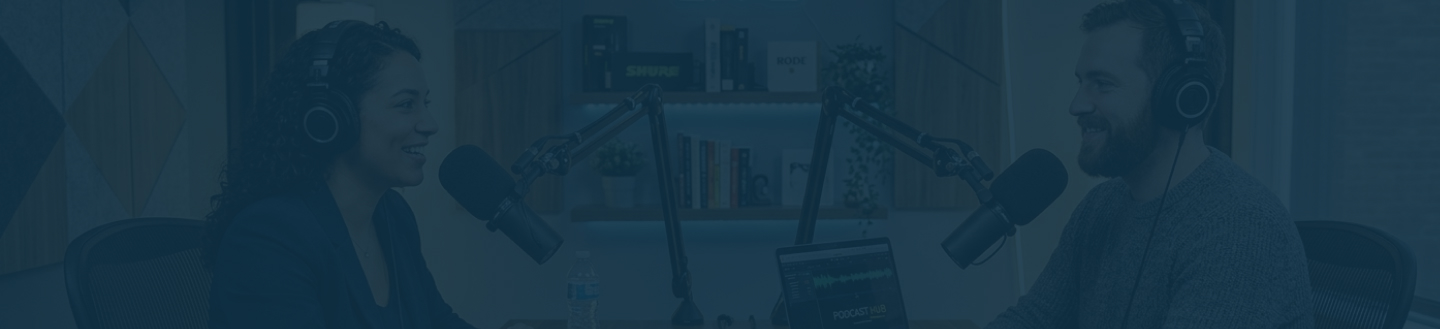
In-person sessions are the easiest to get right. Put one microphone in front of each person and record each voice on its own track. Separate tracks let your editor lower one voice without touching the other.
Use a field recorder or an audio interface that supports multiple inputs. Test every mic before the guest arrives. Ask each person to read a paragraph at normal volume, then check the meter.
Do a short test recording and play it back through headphones. This takes two minutes and prevents most disasters. Keep the guest’s mic placement the same through the session, because a guest who leans away changes the sound.
Record a remote interview
Remote recording adds one risk: the internet. Your choice of method decides how much of that risk reaches your audio.
The three remote methods
Buzzsprout’s guide groups remote options into four types: video calls such as Zoom, browser recording tools, phone calls, and the double-ender. In plain terms, you can record the call, record in a browser studio, or have each person record themselves.
The double-ender is the highest quality. Each person records locally at full quality, so the final audio does not depend on the connection. You then sync the files in editing. Buzzsprout notes that you run a separate video call to see each other, start the local recordings, and create a sync marker such as a countdown followed by a clap. It also notes the method is harder to set up.
Browser tools are easier. Adobe’s remote recording tool needs Chrome on a desktop, and Adobe suggests up to five guests per session. Guests can join by link without signing in. If you use a video call, pick the setting that saves a separate audio file for each person, and watch the time limit. Buzzsprout notes that Zoom’s free plan limits meetings to 40 minutes.
| Situation | Best method | Why |
| One guest, strong internet, you want easy | Browser recording tool | Simple invite link, little setup |
| Executive guest, audio quality matters most | Double-ender plus backup | Quality does not depend on the connection |
| Three or more guests | Browser tool with separate tracks | Fewer files to sync |
| Guest only has a phone | Phone recording through a mixer or app | Lowest quality, but reaches the guest |
| You need a free test | Video call with separate audio files | No new account, but the time cap applies |
The Two-Track Safety Net
Always run two recordings. The first is your main file. The second is a backup that runs on a different device or tool. If the main file fails, you still have the interview.
Guests are busy, and many will not repeat a session. A second recording is the cheapest insurance in podcasting. A backup recording costs nothing until the day you need it.
Record a phone-only guest
Phone audio is thin, but some guests have no other option. Record the call through a mixer with a mix-minus feed, or use a recording app. Buzzsprout also notes that the iPhone has built-in call recording that saves a recording and transcript to Notes.
Tell your listener the guest is on the phone, and keep that part short. Ask a phone guest to sit in a quiet room and hold the phone steady. Move your own track to a local recording so at least your half stays clean.
Run the session
Before you press record, send the guest a one-page brief. Include the time, the link, the setup rules, and the first two questions. A guest who knows what is coming sounds calmer.
On the day, join ten minutes early. Check the guest’s microphone, headphones and connection. Ask them to use wired headphones, close other tabs, and use a wired internet connection if they can. Buzzsprout also advises recording where the connection is strongest and turning off other streaming devices.
Say the date, the show name, and the guest’s name out loud at the start. Your editor will thank you. If a mistake happens, pause, then repeat the whole sentence. Do not try to fix it mid-word.
The Single Take Gamble
The Single Take Gamble is trusting one recording of one interview. It works until it does not. Two recordings, a clap marker, and a quick play-back test turn a gamble into a routine.
After you stop recording
Name the files right away. Use the show name, episode number, date, and speaker. Copy them to a second location before you do anything else.
Your editor then cleans the audio, balances the voices, and sets the final loudness. Our guide to podcast editing explains that step. If you work with a team, our guide to what a B2B podcast agency does shows who handles this step for you.
Next, you need a host to publish your episodes. Our roundup of the best podcast hosting platforms compares the options.
One note about timing. Older guides, including an earlier version of this page, claimed that one weekday morning is always the best time to publish. I could not trace that to a primary source, so I removed it. Test your own audience instead, and keep a steady schedule.
When a business show needs more than a setup
A business show has extra pressure. Guests are senior, calendars are tight, and a failed session can cost a relationship. A producer runs the technical side so the host can focus on the conversation. That includes the guest brief, the test call, the backup and the file handoff.
If you want that support from day one, our podcast production services cover recording, editing and publishing. If you are still planning the launch, see our podcast launch service, and read how long it takes to launch a B2B podcast.
If you want a second set of eyes on your setup, you can book a call with the team.
Conclusion
Good recording comes from a short list of decisions. Pick a quiet room, keep the mic about 4 inches away, record WAV at 24-bit and 48 kHz, keep peaks low, and run a backup.
Remote guests add risk, so choose your method with care and brief your guest early. If you remember one thing, make it this: a backup recording costs nothing until the day you need it.
Strategy-first. Production second. Growth always.
Sources
- Castos, How to record a podcast (checked Oct 13, 2026)
- G2, How to record a podcast (checked Oct 13, 2026)
- Zoom, How to start a podcast (checked Oct 13, 2026)
- Apple Podcasts, Audio requirements (checked Oct 12, 2026)
- Buzzsprout, How I Record Remote Podcasts (Dec 17, 2025) (checked Oct 12, 2026)
- Adobe Podcast, Set up a remote recording (checked Oct 12, 2026)
- RODE Help Center, sample rate with Riverside (checked Oct 12, 2026)