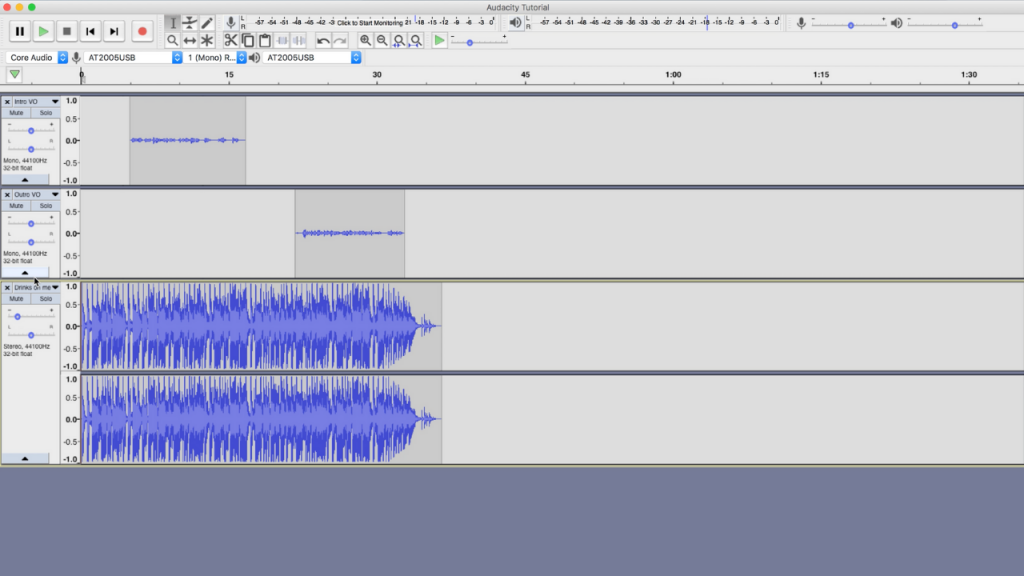
Audacity is a free audio recording and editing platform for both Mac and PC (and even Linux if you are hardcore like that).
Audacity is available for download at www.audacityteam.org/download/. While GarageBand is a great tool for music production, it isn’t necessarily designed with podcasting in mind. There are a ton of features in GarageBand, but the overall layout tends to be cluttered and has a lot of unnecessary functions that do not help with podcast production.
Enter Audacity. Audacity has a very basic layout, but don’t let that fool you. It actually has a lot of features that are very efficient and easy to use. Let’s get started with the overall layout on this audacity podcasting tutorial.
The good…and the bad of Audacity
Pros to Audacity
While most Mac users lean towards using GarageBand, Apple’s native audio editing software, Audacity brings all people together, including Mac, PC, and Linux users. As with all things, Audacity has it’s good and bad qualities.
The pros of this software are that it is compatible on Mac, PC, and Linux. Moreover, this open source software is free to download and has the ability to record high resolution audio that is often found in more expensive programs such as ProTools and Logic. Additionally, the layout is simple and easy to navigate, it allows you to start recording quickly, and you can export multiple individual tracks simultaneously.
Cons to Audacity
While Audacity is highly appealing for all these reasons, there are several negatives. First, the editing features are a bit clunky and the learning curve is steep. Second, unlike GarageBand, the program is aesthetically lacking. Finally, it is easy to shift tracks out of sync while editing. However, with a little practice even a novice can learn how to get great results out of Audacity.
If you watch the Audacity tutorial for podcasting video above you will be well on your way to mastering Audacity. If you encounter any problems, please reach out to our team of audio professionals and we will do everything we can to serve you on your podcasting journey.
For a quick reference of what we cover in this video, you can read our step-by-step instructions on the basics of using Audacity for podcasting. Also check out the timestamps and key takeaways at the end of this blog to quickly find answers within the tutorial video.
How to configure inputs & outputs
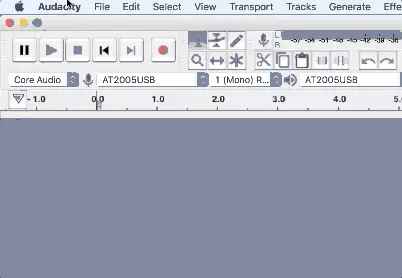
Configuring a mic (input) and headphones (output) is the first step to record a podcast in Audacity.
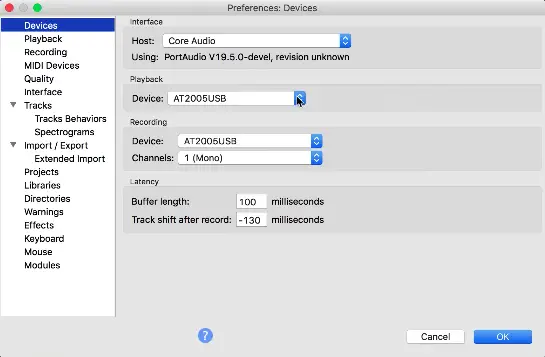
1. Go to Audacity > Preferences > Devices to choose your input and output device
2. Select a “Playback” device to choose your microphone (input) and a “Recording” device for your headphones (output)
In our tutorial video, Dayton was monitoring the recording through his AT2005 USB microphone headphone jack. But you could also change your playback device to output directly through your laptop headphone jack or audio interface.
When choosing a microphone, select the proper input and choose 1 (Mono) input. We recommend always recording voiceover and podcast microphones as mono tracks.
How to monitor audio for optimal mic input gain
As we’ve written in other places, it’s critical to monitor the audio of your podcast microphone while you are recording your podcast. This can save you from some major headaches down the road in the editing and mixing process.
To change the audio monitoring level of your podcast, simply adjust the monitoring volume in the top right corner of the pogram. Note, there are 2 slider bars for adjusting volume: (left) the input microphone gain and (right) the headphone monitoring gain.

It’s important to understand that adjusting the input gain will affect the recorded volume of the track while adjusting the headphone monitoring volume will not have any direct effect on the final audio quality.
How to create a new track for recording
Once you set up your microphone input and headphone output and adjust the volume levels of each, it’s time to create a new track and begin recording your podcast. Creating new tracks is simple, and you can add as many tracks as you need to set up your podcast. Don’t hesitate to break your session up and stay organized by creating a new track for each section of your podcast (eg. Intro VO, midroll ad, outro VO, guest dialogue, host dialogue, etc).
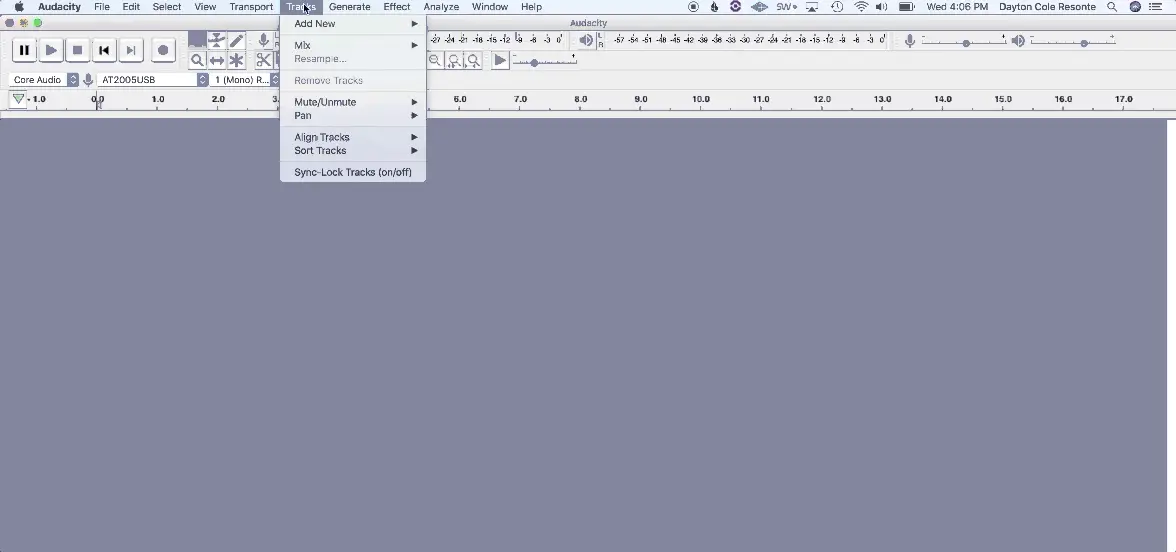
1. Navigate to Track > Add New > Mono Track
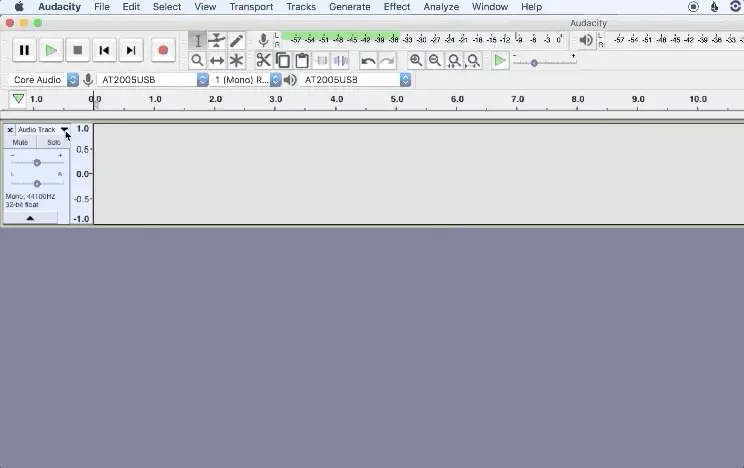
2. Name your tracks to stay organized for post-production
How to save an Audacity project
Saving your projects, and saving them throughout the process, is critical to safely recording a podcast. You should always save your project when recording a podcast in Audacity.
1. Navigate to File > Save Project As and choose or create a dedicated folder in Finder
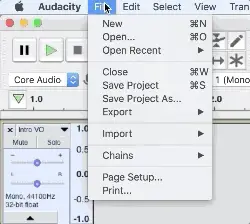
Bonus Tip: Save a copy of your project as a template so you don’t have to recreate a session every time you make a new episode of your podcast.
How to export tracks in Audacity
1. Select/highlight all of the tracks you want to export
2. Navigate to File > Export > Export Multiple…
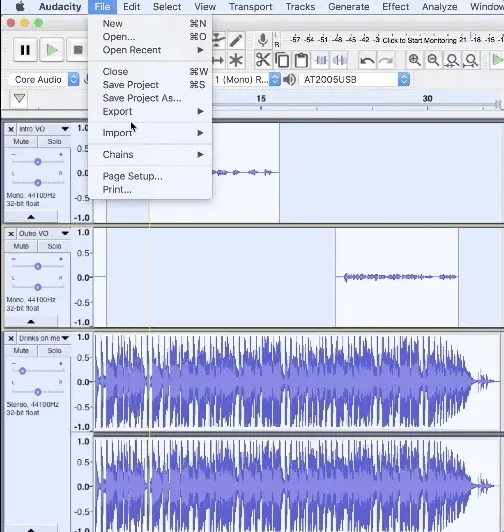
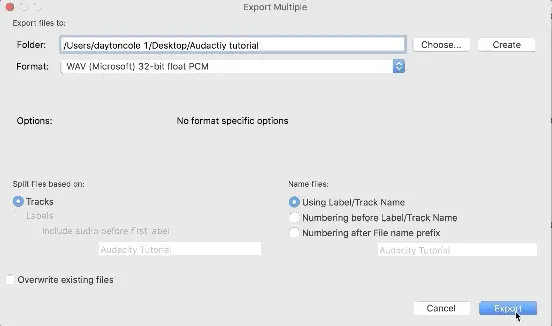
3. Choose the export location and file type (we recommend WAV)
There are a number of export settings to choose from in Audacity, which makes it a powerful tool. We recommend exporting uncompressed lossless file formats such as WAV for editing and mixing.
4. Click ‘Export’ and fill out the relevant meta-data for each track
Audacity tutorial video timestamps
00:16 – An Introduction to Audacity
1:00 – Start Here: Configuring Inputs & Outputs
2:15 – Overview of Important Tools
2:45 – Microphone Input & Headphone Output
2:50 – Monitoring for Optimal Input Volume
4:05 – Add New Tracks
4:35 – Naming Your Track
5:08 – How to Start Recording
6:18 – Recording an Intro Voice Over
7:16 – Adding a Second Track
8:09 – Shortcut: How to Zoom
8:45 – Deleting Audio Content
9:10 – Deleting Two Tracks Simultaneously
10:08 – Time Shift Tool
10:50– How to Fade in a Track
11:40 – Track Volume Adjustment, Mute & Solo Tracks
12:05 – Importing Music
15:10 – Volume Automation Tool
16:22 – Exporting a Mix Down of the Session
17:22 – Importing Metadata
18:15 – Exporting Tracks Separately
18:20 – Making All Tracks Start from Beginning
19:30 – Export Settings and Metadata for Separate Tracks
Let’s connect
We hope this tutorial has been helpful in giving you the overview you need to be able to effectively use GarageBand for podcasting. We realize we could not cover all of your questions during this short video but our team is always available to help you troubleshoot any other issues you may face. For any additional questions not covered by this tutorial or to learn more about our support processes please email the Resonate Recordings team at hello@resonaterecordings.com or chat with our team on this page. You can also schedule a call to learn more about our services today!
