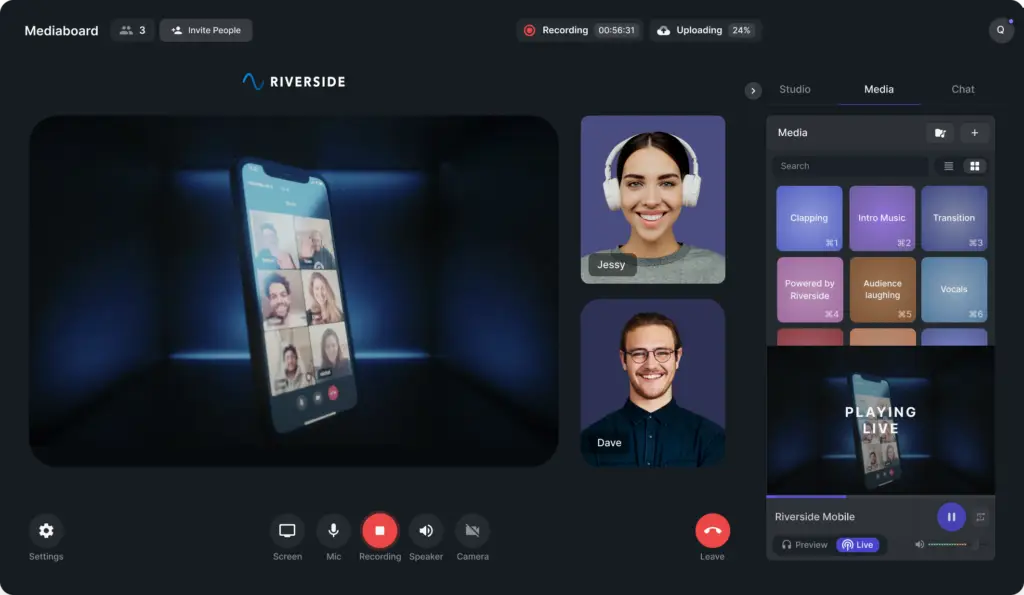
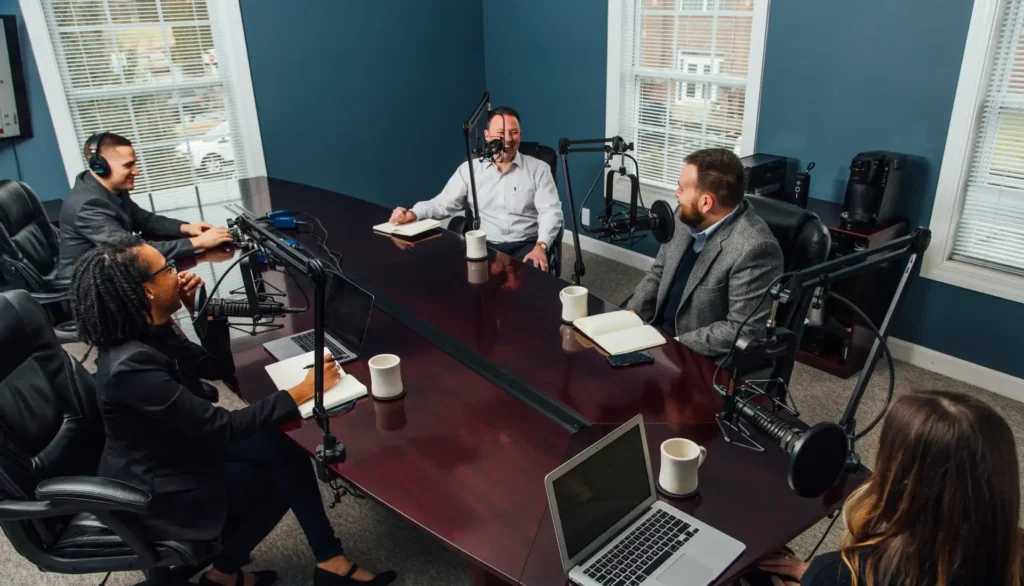
Remote recording your podcast with high-quality audio is a difficult task.
Add video recording to the equation and you have a very challenging task at hand. When recording remotely, you will run into some quality concerns without studio-quality specs. These concerns include ensuring that voice and video recordings maintain a high level of quality. If not, your audience may be put off by the low quality, which may cause some listener dropoffs. The importance of quality in sound cannot be understated, as your podcast audio needs to be ready for distribution. Luckily, there are tools to ensure that quality is not lost in the remote recording.
One of our favorite remote recording tools that solves these concerns is Riverside.fm. In this article, we’re taking a closer look into its details and how to produce a high-quality, studio-standard remote podcast.
What is Riverside.fm?
With the enormous potential of remote podcasting, Riverside is one of the few remote recording tools on the market, that has a focus specifically on recording high-quality local audio and video. This is made possible by creating separate audio and video tracks for every guest. Even here at Resonate Recordings, Riverside is our preferred platform for recording podcasts remotely.
Why do we recommend Riverside.fm?
As a podcast production company, Resonate prioritizes quality audio, no matter where in the world it’s being recorded. There are so many features that make Riverside.fm the obvious choice for a remote recording tool, so let’s take a closer look at a few of them.
Audio Quality
As audio and recording experts, our team understands that high audio quality really does matter. If your recording is subpar, your message may lose its impact. Riverside.fm records uncompressed 48kHz WAV files locally to each participant’s computer. Once the recording has ended, each of these recordings upload to the host’s account and can be downloaded from there by the host.
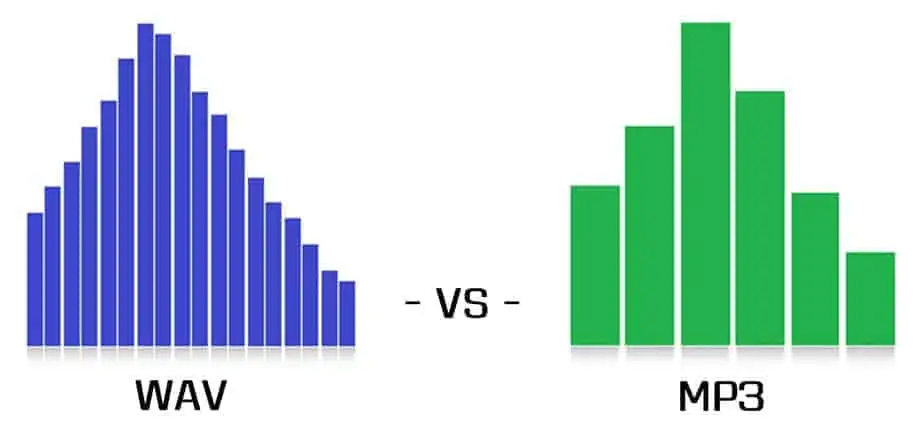
This is a big deal for remote recordings. Most of the other options for remote recording do not record uncompressed audio locally. They usually record using VoIP technology, or Voice over Internet Protocol. Using a VoIP-based recording platform can leave you with weird glitches in your recordings if a participant’s internet connection becomes unstable, or even cause all of your recordings to be out of sync with one another. This will cause a headache in post-production when all of the tracks are aligned. VoIP audio also sounds more like a phone call than studio-quality audio. It is filtered and compressed and there’s nothing you can do to fix that. But Riverside.fm records your voice the way it sounds naturally: Crisp and clean
Video Quality
A lot of podcasters also opt to record and distribute their content in video format. Thankfully, Riverside.fm can provide a solution here as well. With Riverside, you can record high-quality, 4k videos as well!
Similar to the audio recording process, Riverside records your video locally without filtering the image and uploads it to the host’s account when the recording is complete. Again, this process ensures that your videos will be glitch-free if the participant’s internet connection becomes compromised.
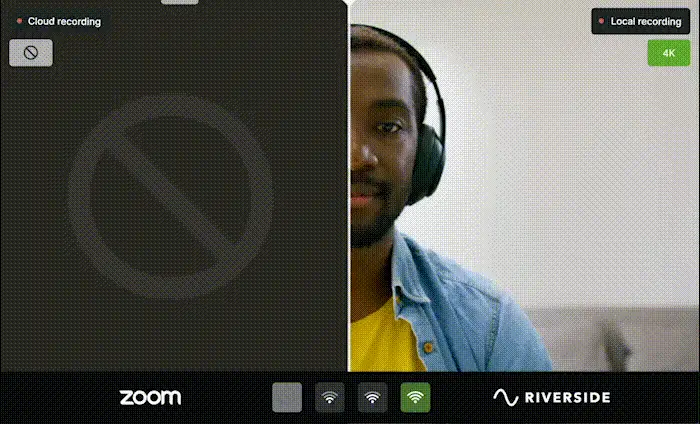
For an additional failsafe and safety measure, our team also recommends that each party record their audio and video locally on their own computers as a safeguard in the event of some kind of software failure. For Mac users, we suggest using Quicktime. For PC users, we suggest VLC Media Player.
Here’s a quick overview of some other great features within Riverside.fm:
Clips
Riverside’s clips allow you to scrub through your podcast recording and find those special moments you want to cut into clips for posting on social media or sharing with your team. They even create a few suggested clips automatically.
Multiple guests
Some alternatives to Riverside like Squadcast, Zencastr, and some other remote recording software will only allow 4 guests in a recording session at one time. Riverside will let you host up to 8 guests at once!
iOS App
The Riverside app is a great option for recording with your iPad, iPhone, Android, or Tablet of your choice! The interface looks just like the browser platform so there isn’t a new learning curve when jumping to mobile.
Automatic Transcriptions
This one is pretty self-explanatory. Rather than uploading your recording to another service for transcription, you can just grab your transcription when your recording is done!
Magic Editor
This is a cool feature that allows you to export a more polished podcast with noise reduction and audio level balancing. However, this is a one-size-fits-all kind of processing done through different algorithms. At Resonate, we believe to get the most out of your podcast you need the hands-on touch of real producers and audio engineers. But this is still a great feature to get something done in a pinch or to create listenable content to throw out on social media.
How to use Riverside.fm
Using Riverside is really easy. Before we dive in, we do recommend that all users get started with Riverside through Google Chrome. While the platform will work with other browsers, we found that Chrome provides the most ideal experience with limited disruptions.
1. Create an account
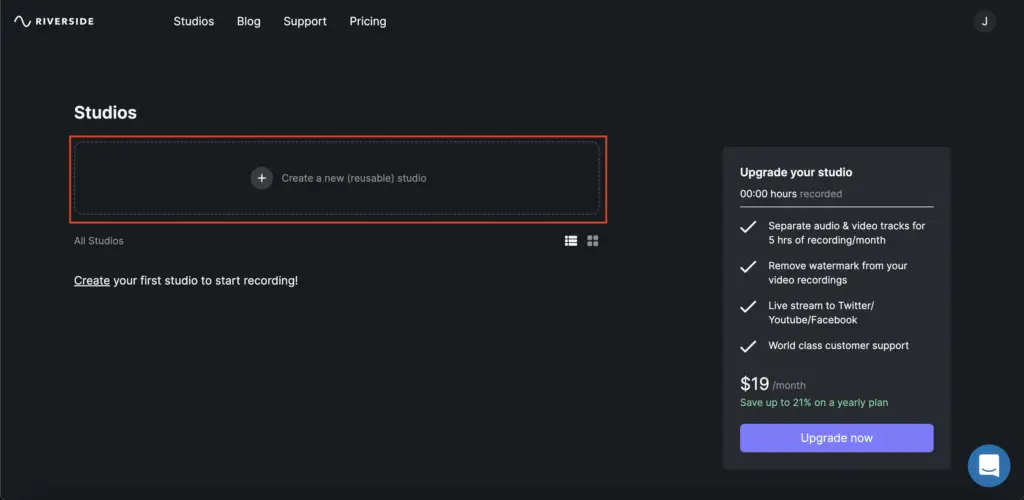
To get started you must first create an account and click “Create a new studio”.
2. Define your recording studio
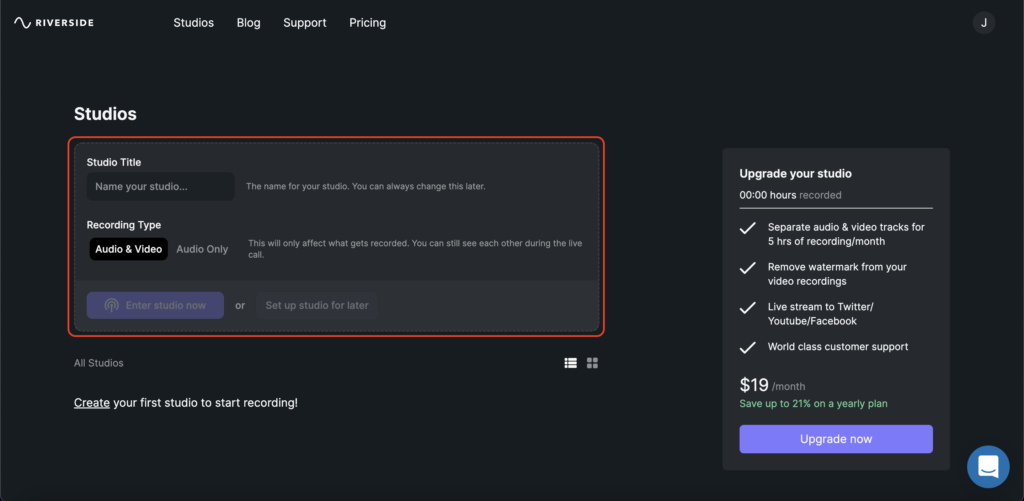
You can name the recording and select whether you want to record ‘Audio only’, or ‘Audio and Video.’ You can then enter the studio immediately, or schedule it for later.
3. Set up your details
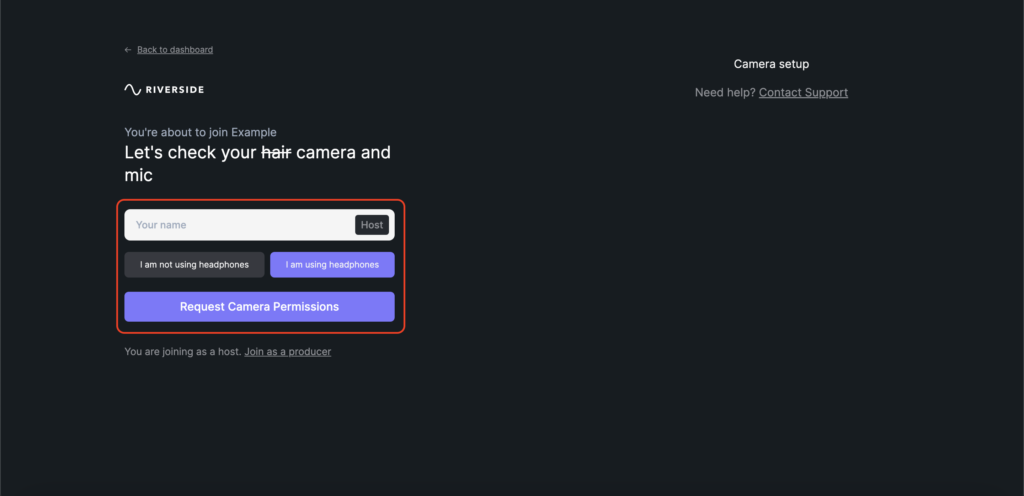
After selecting your recording type preference and entering your studio, you will be prompted to enter your details and permissions.
4. Select your inputs and outputs
When it’s time to hop in the studio for your recording, you will be prompted to select your microphone, headphone, and camera options. This ensures you have all of the correct settings for recording.
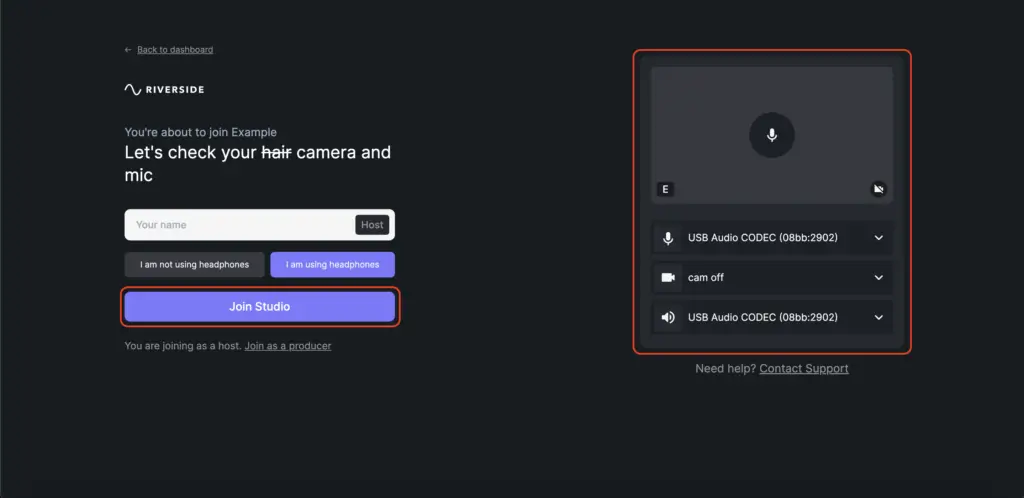
If you are unsure about how to connect your devices and select the correct options, Resonate offers Remote Recording help, in which one of our audio engineers can be present on a recording with you. This way, you can be more hands-off on the technical aspects of the podcast allowing you to focus on connecting with your guests and the conversation.
5. Invite or start your recording
At this point, you are prompted to invite a guest or record a monologue on your own. To invite your guest, just click the ‘invite’ button and enter their email address to send an invite via email, or you can create a link for the recording that you can send out in a personalized email.
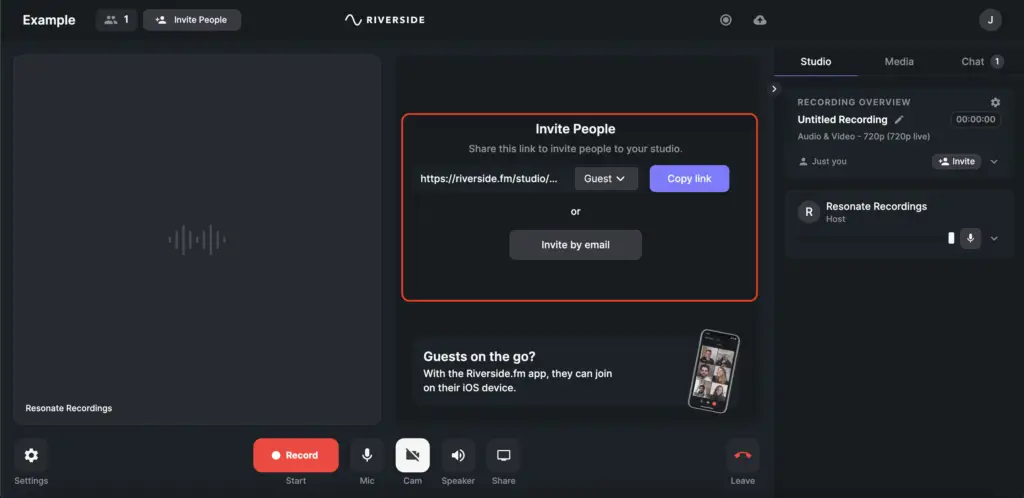
Once the studio is created, you can invite more guests under the settings tab.
Bonus: Live streaming
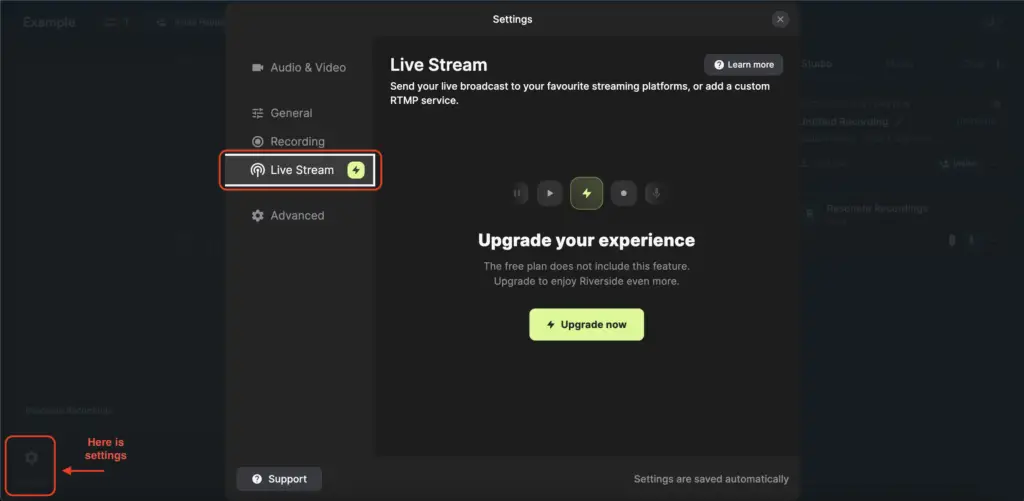
Riverside also allows you to live stream your recording to various platforms like Youtube, Twitter, Facebook, and more. This can be managed under the settings tab. If you’d like, you can also link a Dropbox account to the studio to automatically upload your files there.
7. Record!
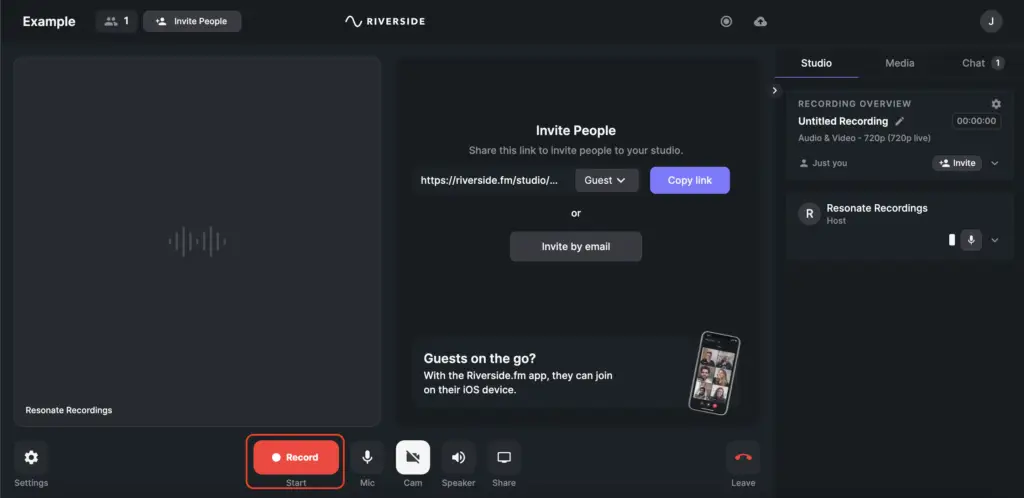
Once everyone is ready to record, the host of the session will click the “record” button and a 6-second countdown will lead you into the recording.
No pressure though! At Resonate we ofer our Remote Recording help to make life even easier for you. As long as you aren’t live streaming, your content can be edited in post-production by our engineers at Resonate. So if you fumble, stutter, or wish you had said something differently, just pause for a moment and start again. We’ll edit out any false starts or filler words or anything else you want removed from the recording to help make your message as clear as possible!
After the recording has been stopped by the host, it is important that each participant stays on the call until all recordings have finished uploading. This usually takes less than 5 minutes. We mention this because progessive uploading is a powerful feature. This feature helps remote podcasts make sure that nothing gets lost and makes upload time much shorter.
Whenever the host finishes a recording and uploads are complete, they can then click “view all recordings.” This will take you to the dashboard where you can download individual audio and video files, clips, as well as accessing the editor.
Pricing
You can get started with a free version that provides unlimited recordings and editing. However, you will not have access to most of the features we mention in this article.
We recommend looking into the standard and above packages. For $15/month you gain access to their Standard package, which includes everything we’ve discussed in this blog so far excluding Unlimited Transcriptions. If you upgrade to the Pro package for $24/month you’ll gain access to Unlimited Transcriptions as well as the ability to host Live Call-ins. You also get 15 hours per month of isolated track recording compared to only 5 hours per month with the standard package. So if you have a weekly podcast recording, you may want to consider the Pro package to gain access to isolated recordings, otherwise your recordings will be summed to one file for audio and video.

If you are serious about your content and need unlimited access to all of the great features we’ve discussed, you may want to consider the Enterprise package which allows for:
- Unlimited isolated tracks for audio and video
- Higher quality video M
- anagement of participant devices (microphone, camera, etc.),
- Custom branded waiting room and studio
- Live support
- Onboarding training
- Data security and more.
If this sounds like a good plan for you, you can book a meeting with Riverside.fm to discuss your needs under their pricing tab.
Overall…
Riverside.fm is a fantastic option for all. If you are a beginner or an expert podcaster, you may encounter times where you have an amazing guest willing to be on your show but is not able to physically be present. We recognize the importance of what one great interview or story can do for your show. Which is why we recommend you to give it a go. Make sure to take a look at their useful content through their youtube channel.
